
Know what stays. Know what goes.
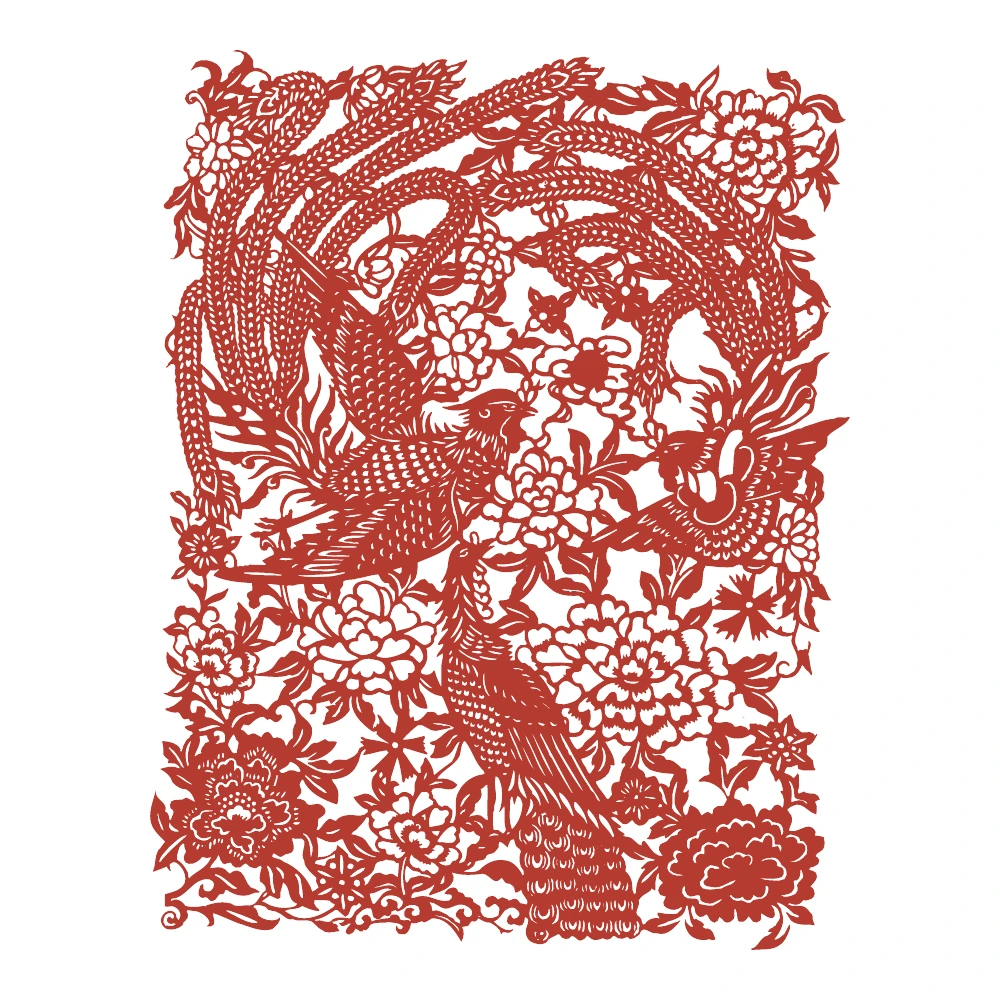
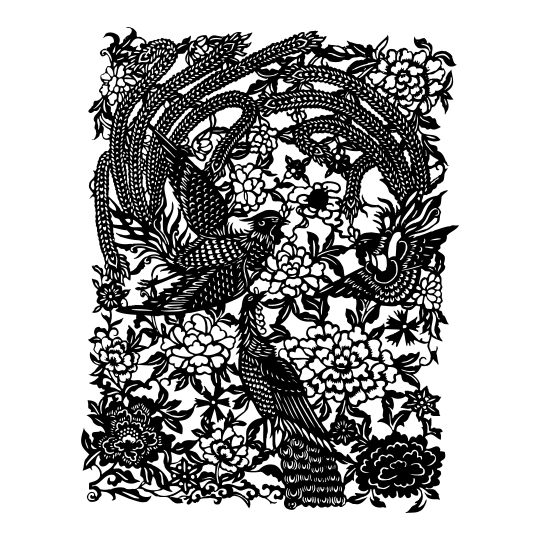
The printable shows the full, upright design. Check the folding notes below before choosing how to prepare the sheet.
Preserve narrow connections between shapes. Loose shapes need a backing sheet or separate placement; the drawing has not been physically tested for connectivity.
From one A4 sheet to your paper cut
Keep this design flat
Work on one open sheet to keep the supplied outline and internal details in their original positions. This guide does not require a fold, including for designs with a balanced outline.
Start with a complete, uncut sheet. Each picture shows the paper before that step; red dashes mark only the next cuts. Keep the surrounding paper until the outside-cutting step.
1. Start with a full A4 sheet
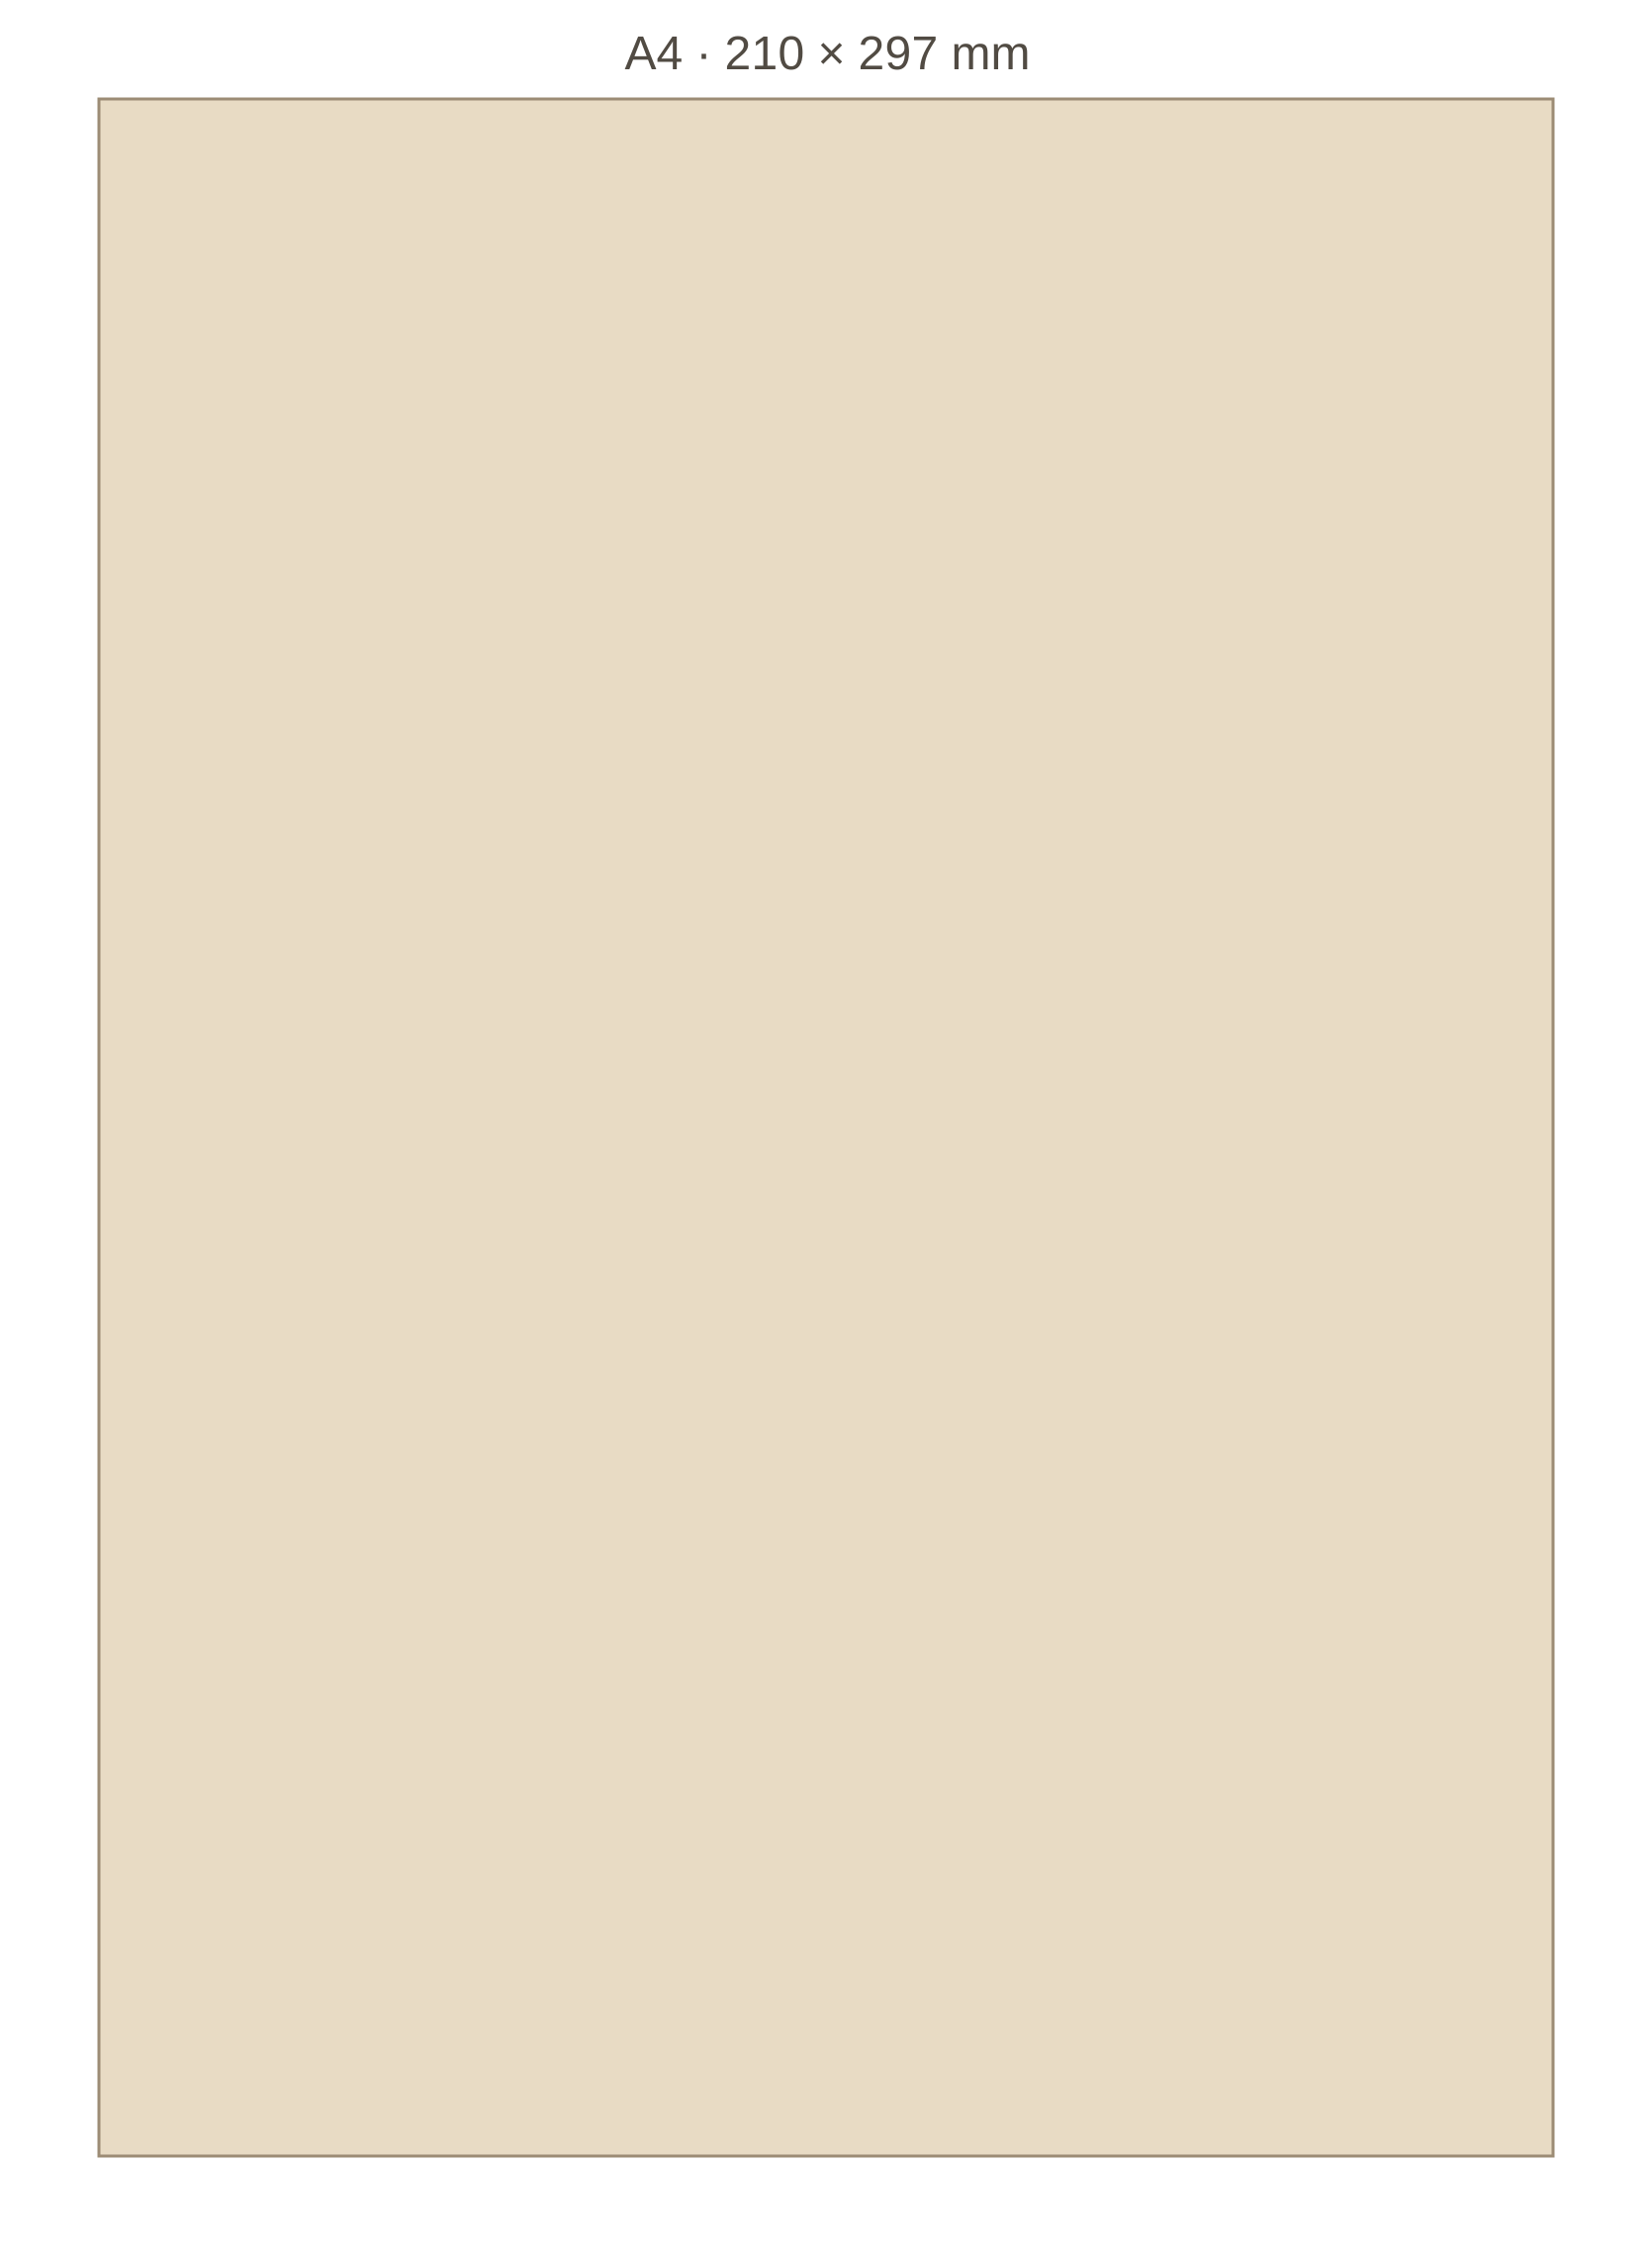
Take one blank A4 sheet (210 x 297 mm), preferably thin colored paper. Print PDF page 1 separately at 100% and check its 50 mm line. Center the pattern on your blank sheet; do not cut off the surrounding paper yet.
2. Transfer the complete drawing
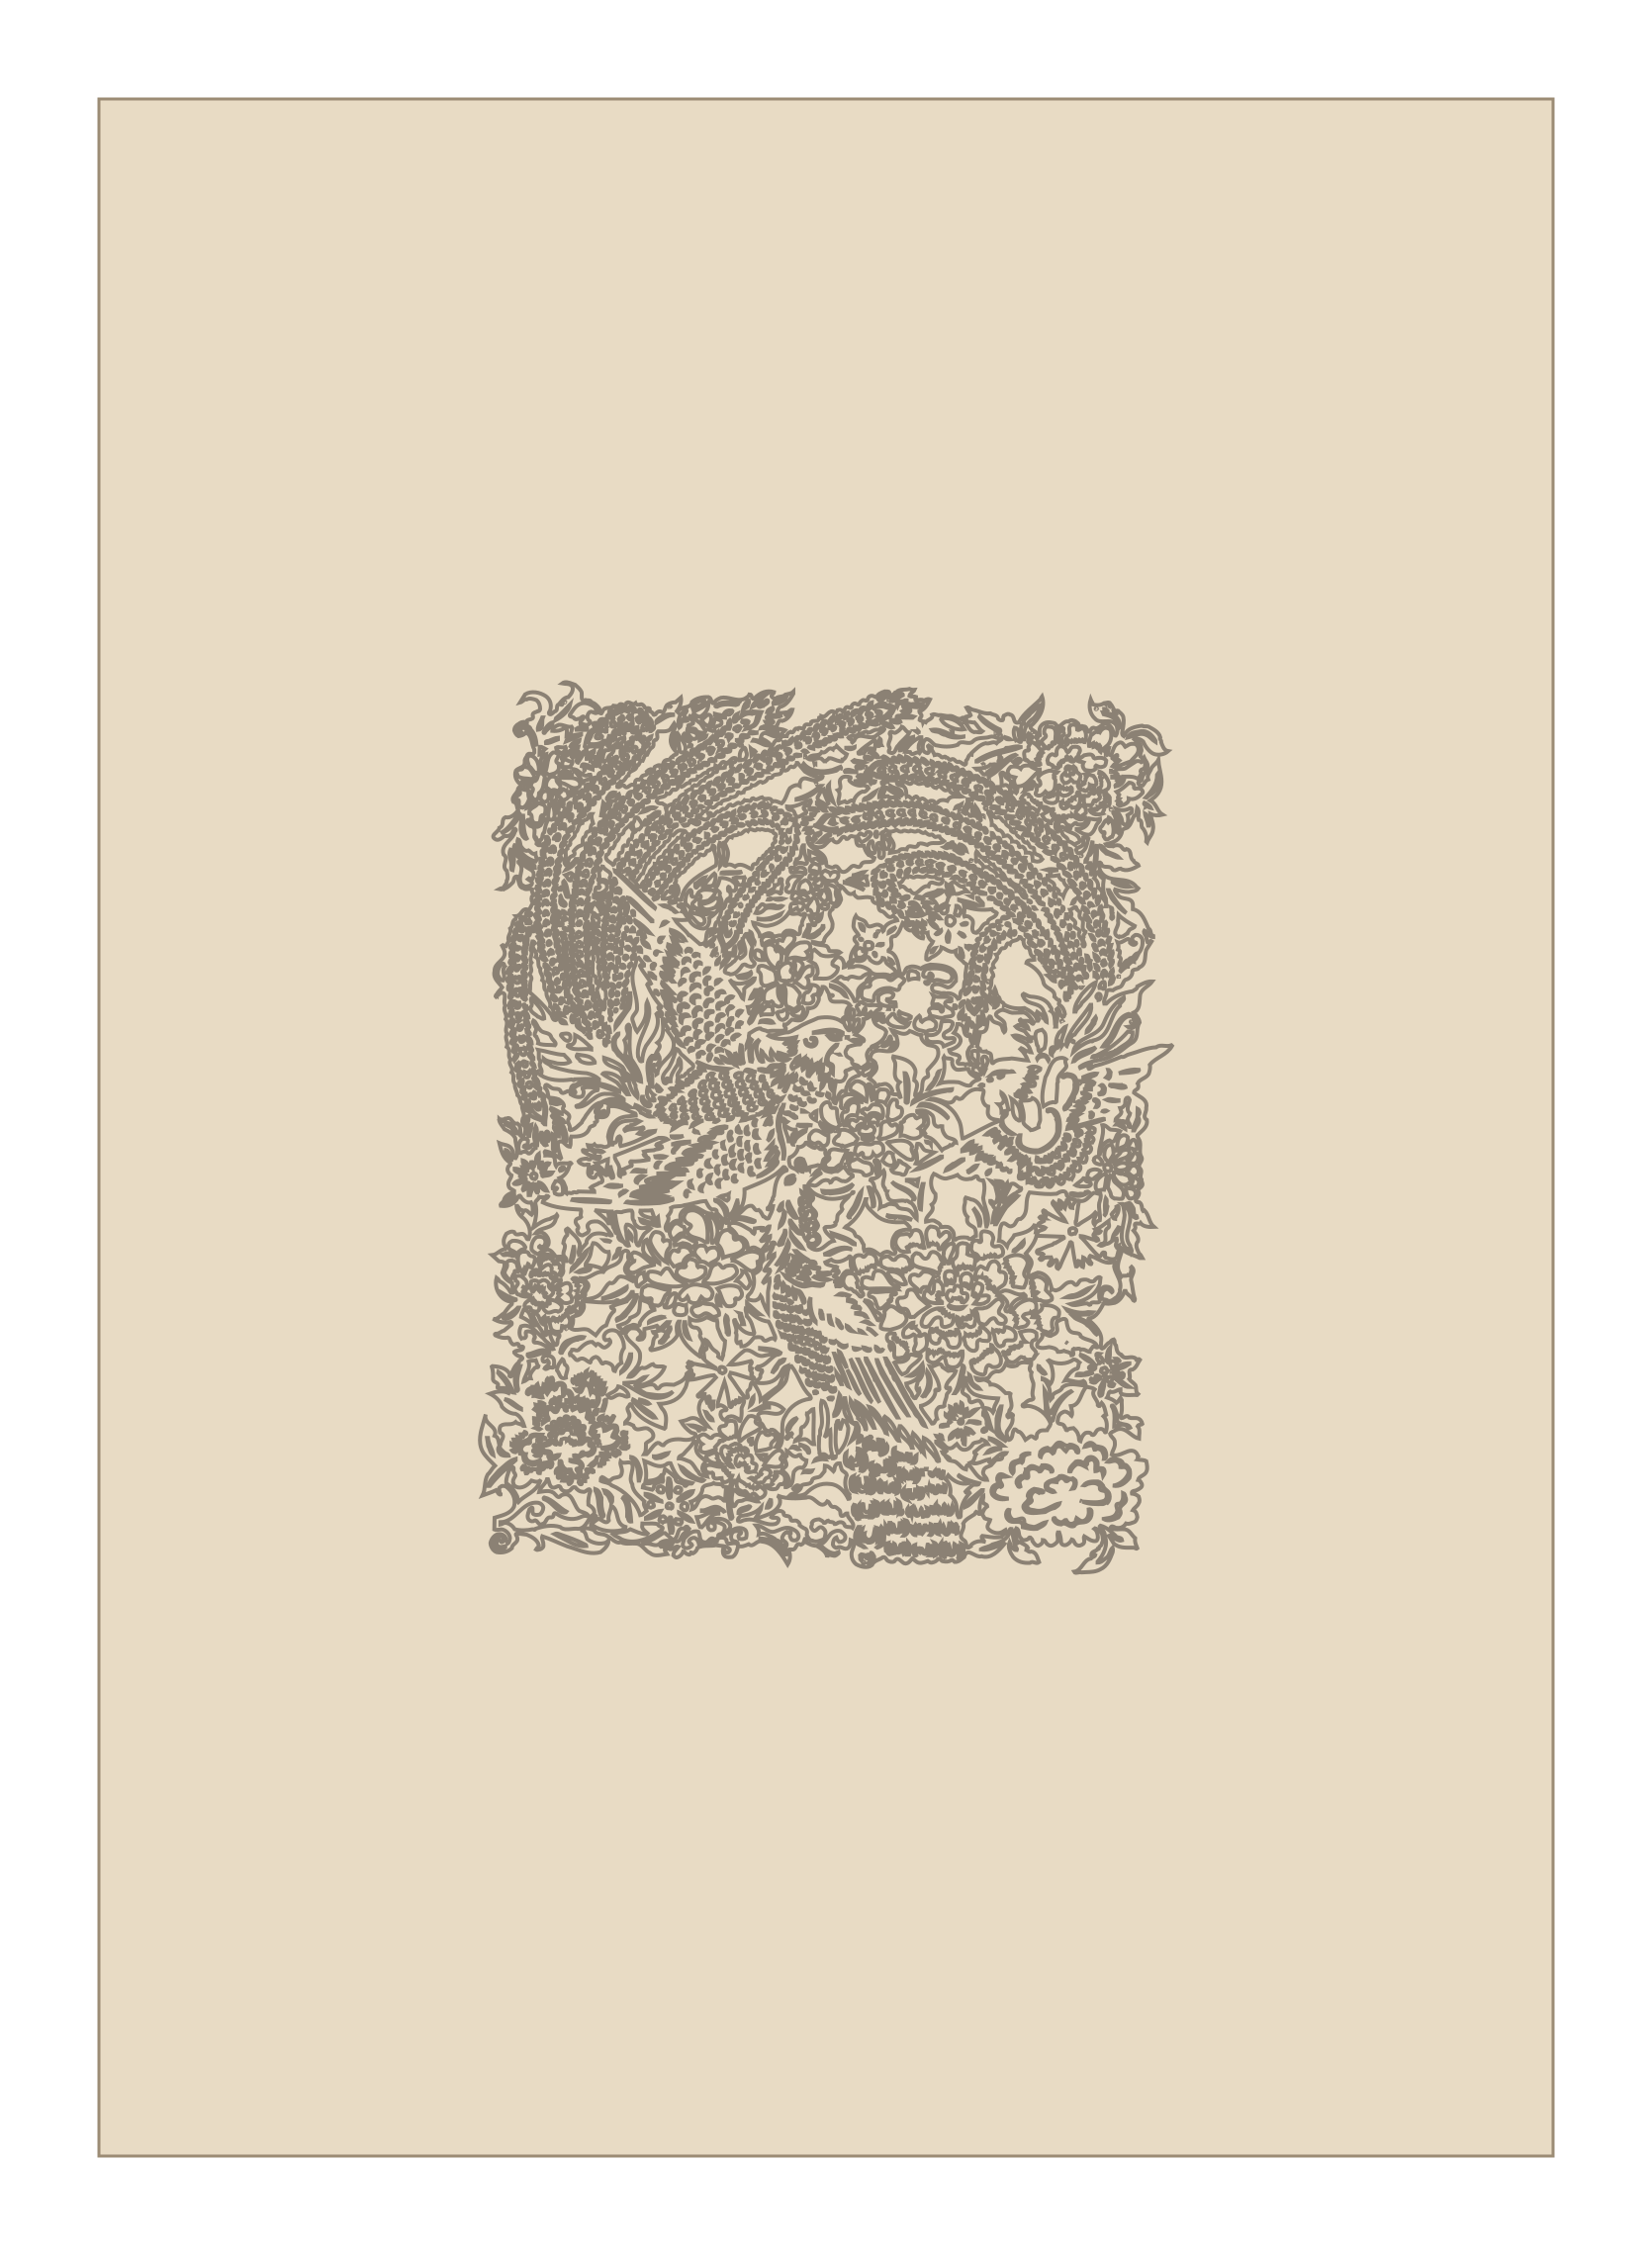
Tape or trace the complete full-size drawing onto the center of the blank sheet, keeping its original direction. The gray outline only shows placement. Keep the surrounding rectangle intact; repeated details do not mean this pattern should be folded.
3. Cut the inside first
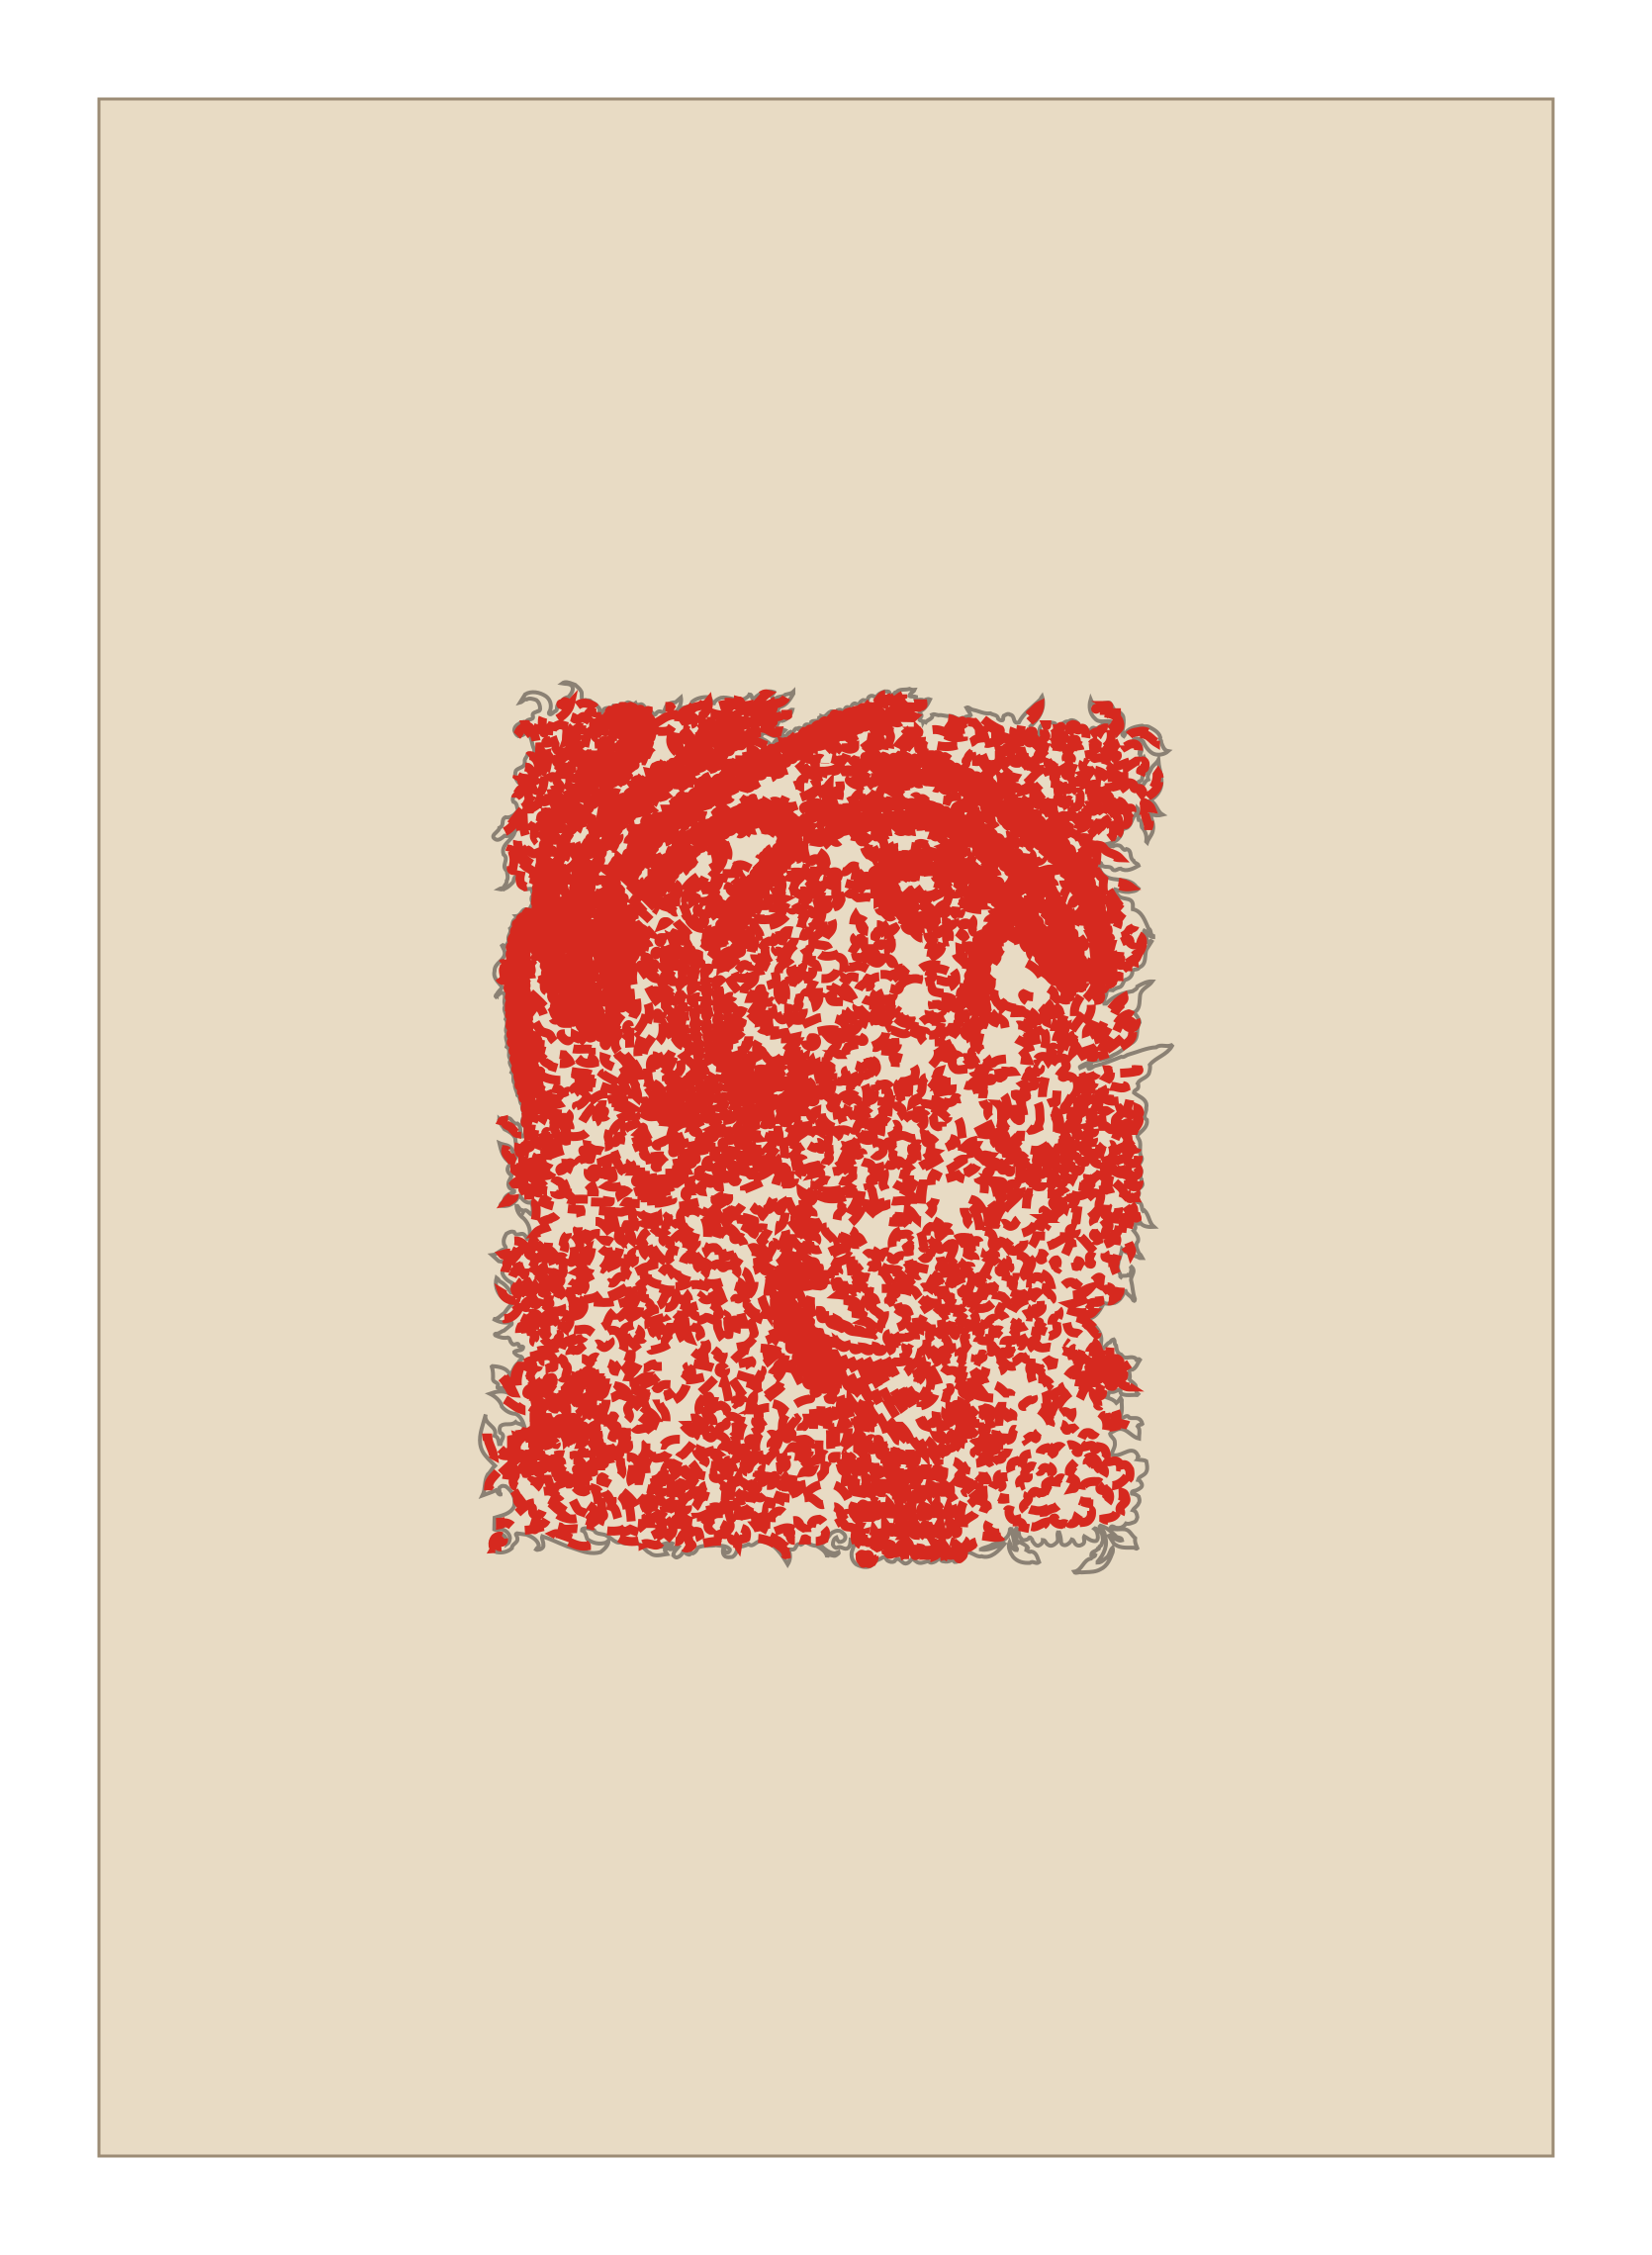
Cut the small enclosed openings, then the larger white areas. Work on a cutting mat, with an adult handling the craft knife. Make a small entry inside each area to be removed, then follow its red dashed boundary. Lift out the small piece. Keep all narrow black bridges and all surrounding paper in place for support.
4. Release the outside contour
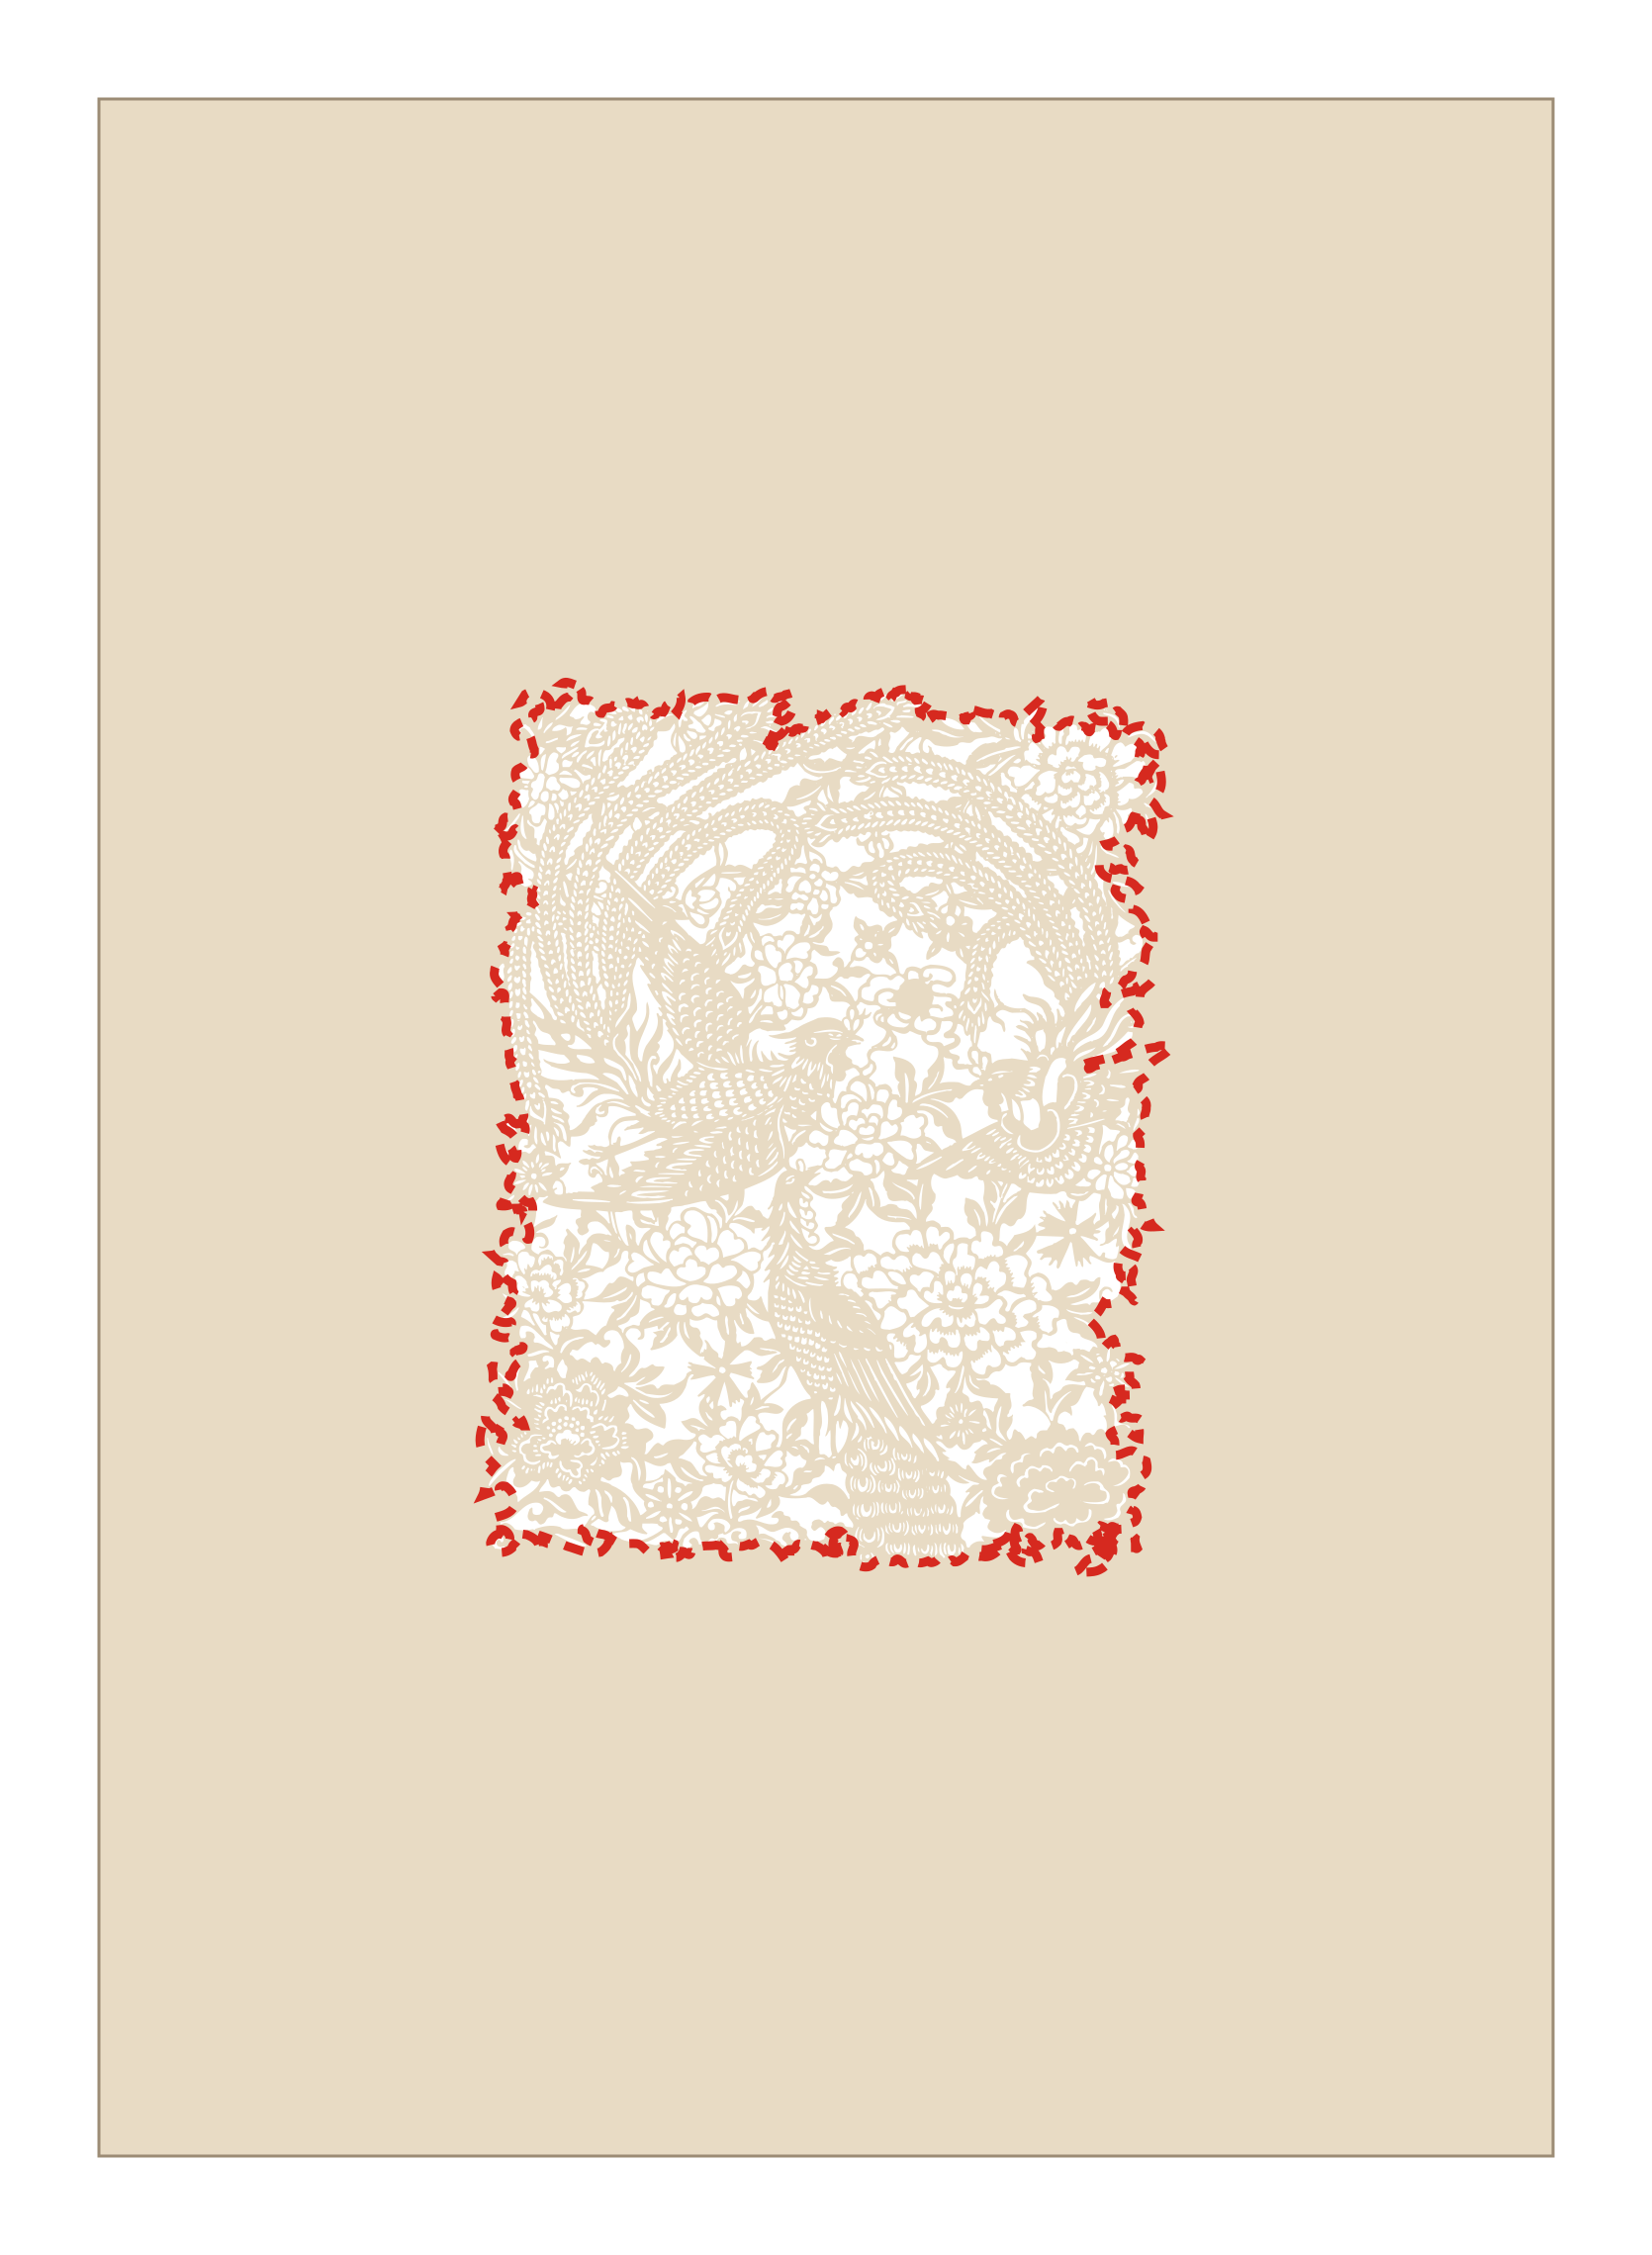
Start from an outside edge of the A4 sheet and approach the outline through waste paper. Follow the red outer boundary and remove the surrounding scrap. Support narrow sections with your free hand and preserve all narrow black bridges.
5. Lift and refine
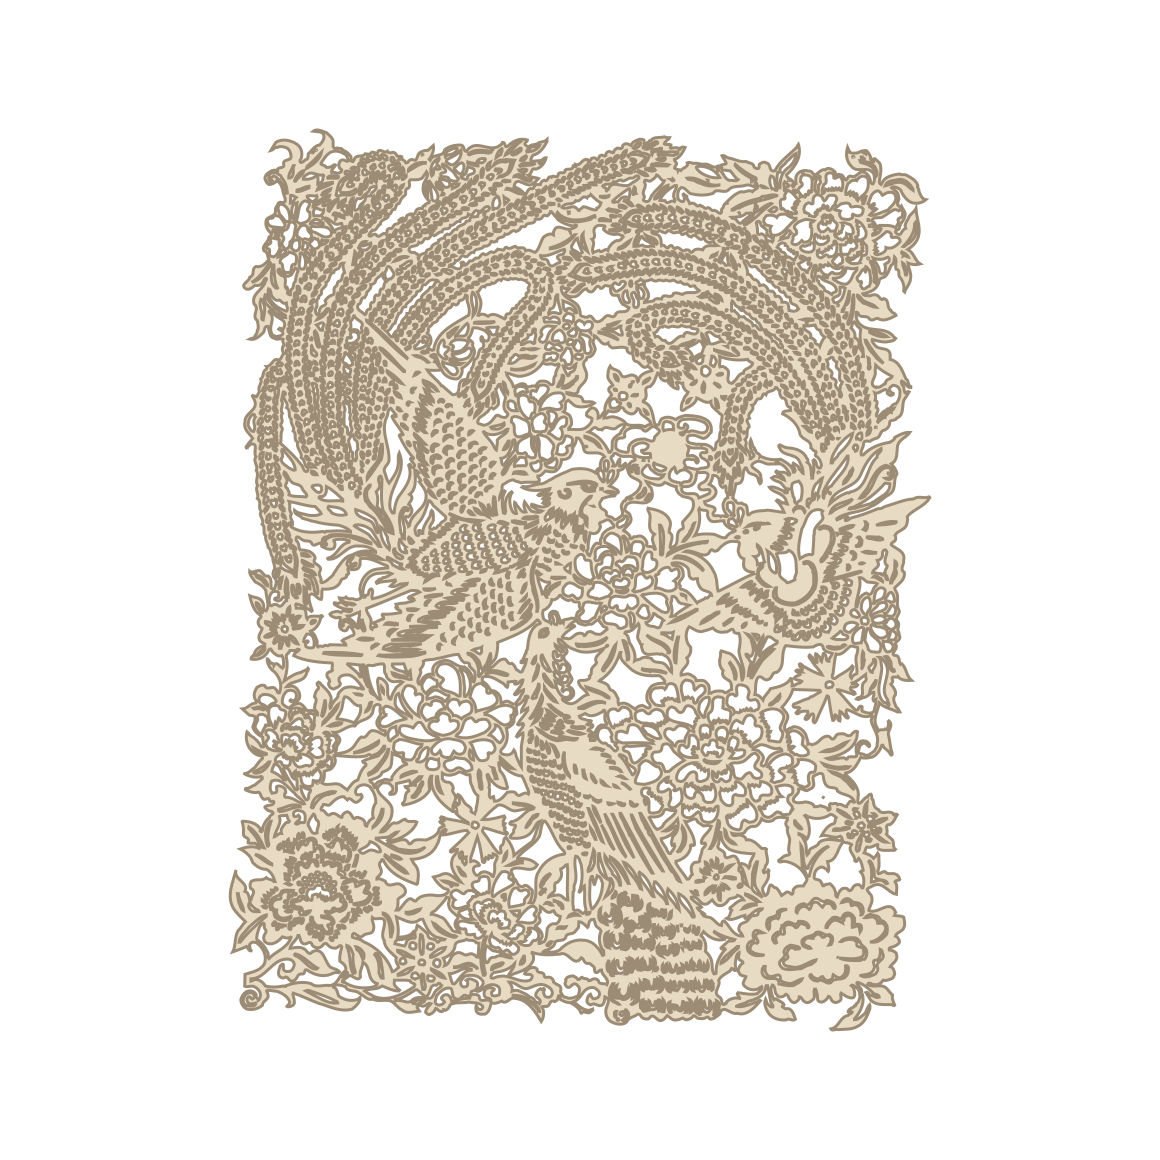
Gently release the cut design from the surrounding offcuts. Lay it flat and trim only attached scraps or uneven edges. Preserve all narrow black bridges. A finished opening does not need to be cut again.
Use an open sheet to preserve this exact design. You can make a separate mirrored variation, but it will change the supplied pattern.
PDF page 1 is the clean full-size pattern; pages 2–3 show this complete sequence. A4 is the default; the Letter download uses a Letter sheet. Try a scrap first to check fragile bridges.
Print, prepare, and make
Match the PDF to your paper size and check the 50 mm scale line. Keep the pattern-specific folding sequence above beside you as you work.
Printing a paper cutting template · From download to finished paper cut
Paper and tools
Try the paper and tools on a scrap first. Difficulty and time are planning estimates; complete a trial before preparing a group activity.
Paper cutting tools and materialsWorking with this bird paper cutting template
Two long-tailed birds sit among closely packed flowers and leaves in this bird paper cutting template. Their sweeping feathers contain many tiny openings, while layered petals introduce curves and pointed corners. The narrow paper bridges between these details deserve as much attention as the outlines: they are the strips you need to preserve when removing the white spaces.
Choose your printable PDF and check the scale
Six PDF versions are available: English, Traditional Chinese, and Japanese, each in A4 and US Letter. Choose the language you want and the size matching your printer paper. Every file has three pages. Page 1 contains the black-and-white pattern and a 50 mm calibration line; pages 2–3 explain the five cutting steps. Print at 100% or Actual size, with page fitting disabled, then measure the line before cutting. Keep the black shapes and remove the white openings and outside area. Use page 1 as the cutting pattern; the smaller step diagrams are instructions rather than full-size templates.
Prepare a small trial before the complete design
Use thin paper, a craft knife, and a cutting mat; small scissors can help with the outer edge. First try a small feather or petal section on spare paper at the intended print size. Check whether you can separate the tiny openings while leaving the neighboring bridges intact. This bird paper cutting template is labeled Advanced, and its 180–360-minute time range is a planning estimate based on visible detail. Neither the difficulty nor the time has been verified by a physical trial cut.
Work with one sheet laid flat. Clear the smallest enclosed holes first, continue through the larger interior openings, and trim the outside last. Leave the surrounding sheet attached while cutting the delicate feather bands and flower connections. Support each narrow strip on the mat and remove scraps gently instead of pulling them through a tight opening.
Do I fold the paper?
No. The two birds and the flower arrangement are not matching halves. Follow the flat-cut sequence rather than creating a center fold.
What if I am just starting?
Practice the tools and small openings with the paper cutting tutorial first. For another bird composition, compare Bird with Three Flowers; it is rated Intermediate, so it still needs careful work.
Can I send the SVG straight to a cutting machine?
An SVG download is available, but machine cutting has not been tested. Inspect its paths, scale, and fine connections in your machine software and run a small trial before committing to the full sheet.
About this template
Two long-tailed birds curve through a dense arrangement of flowers and leaves. Tiny feather openings, layered petals, and narrow paper bridges call for a flat craft-knife cut. Clear the smallest interior openings before trimming the outer edge. The PDF is a cutting study; the SVG contains editable vector outlines.