

Know what stays. Know what goes.
The printable shows the full, upright design. Check the folding notes below before choosing how to prepare the sheet.
Preserve narrow connections between shapes. Loose shapes need a backing sheet or separate placement; the drawing has not been physically tested for connectivity.
From one A4 sheet to your paper cut
Fold the frame; carve flat
Use a center fold for the outer medallion frame only. The picture inside is asymmetric and must be cut after unfolding.
Start with a complete, uncut sheet. Each picture shows the paper before that step; red dashes mark only the next cuts. Keep the surrounding paper until the outside-cutting step.
1. Start with a full A4 sheet
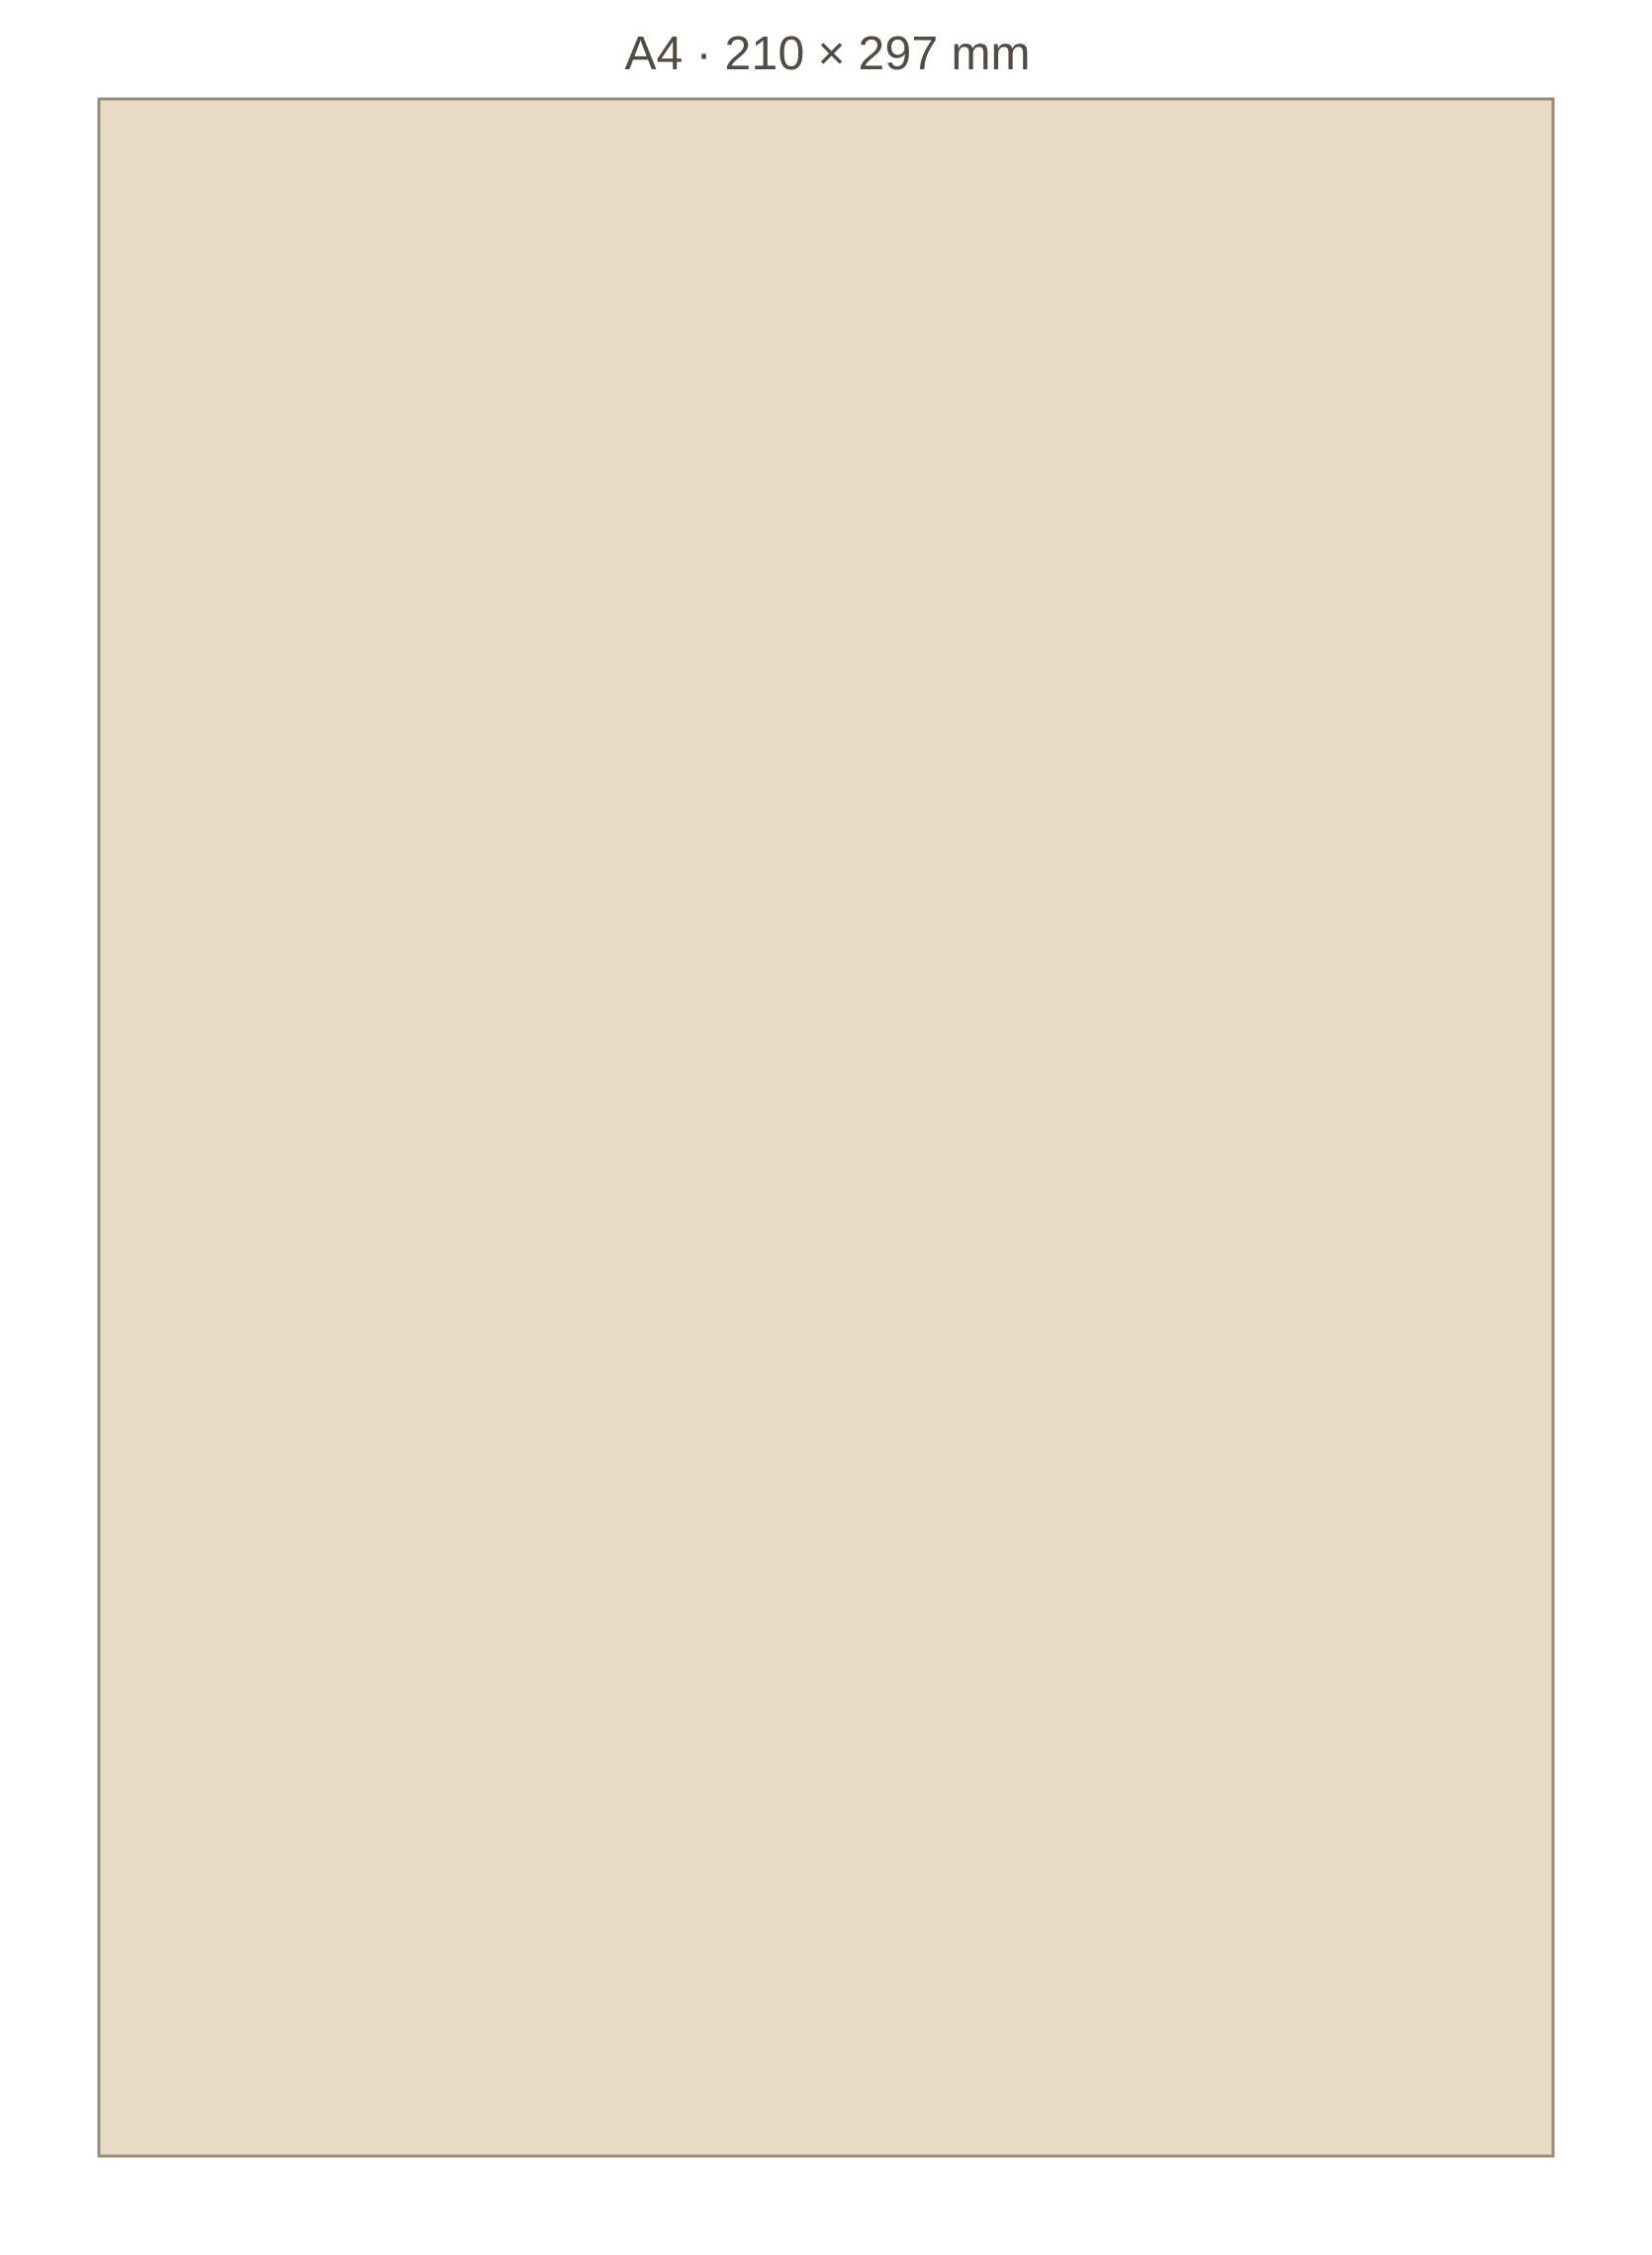
Take one blank A4 sheet (210 x 297 mm), preferably thin colored paper. Print PDF page 1 separately at 100% and check its 50 mm line. Center the pattern on your blank sheet; do not cut off the surrounding paper yet.
2. Fold and mark the frame
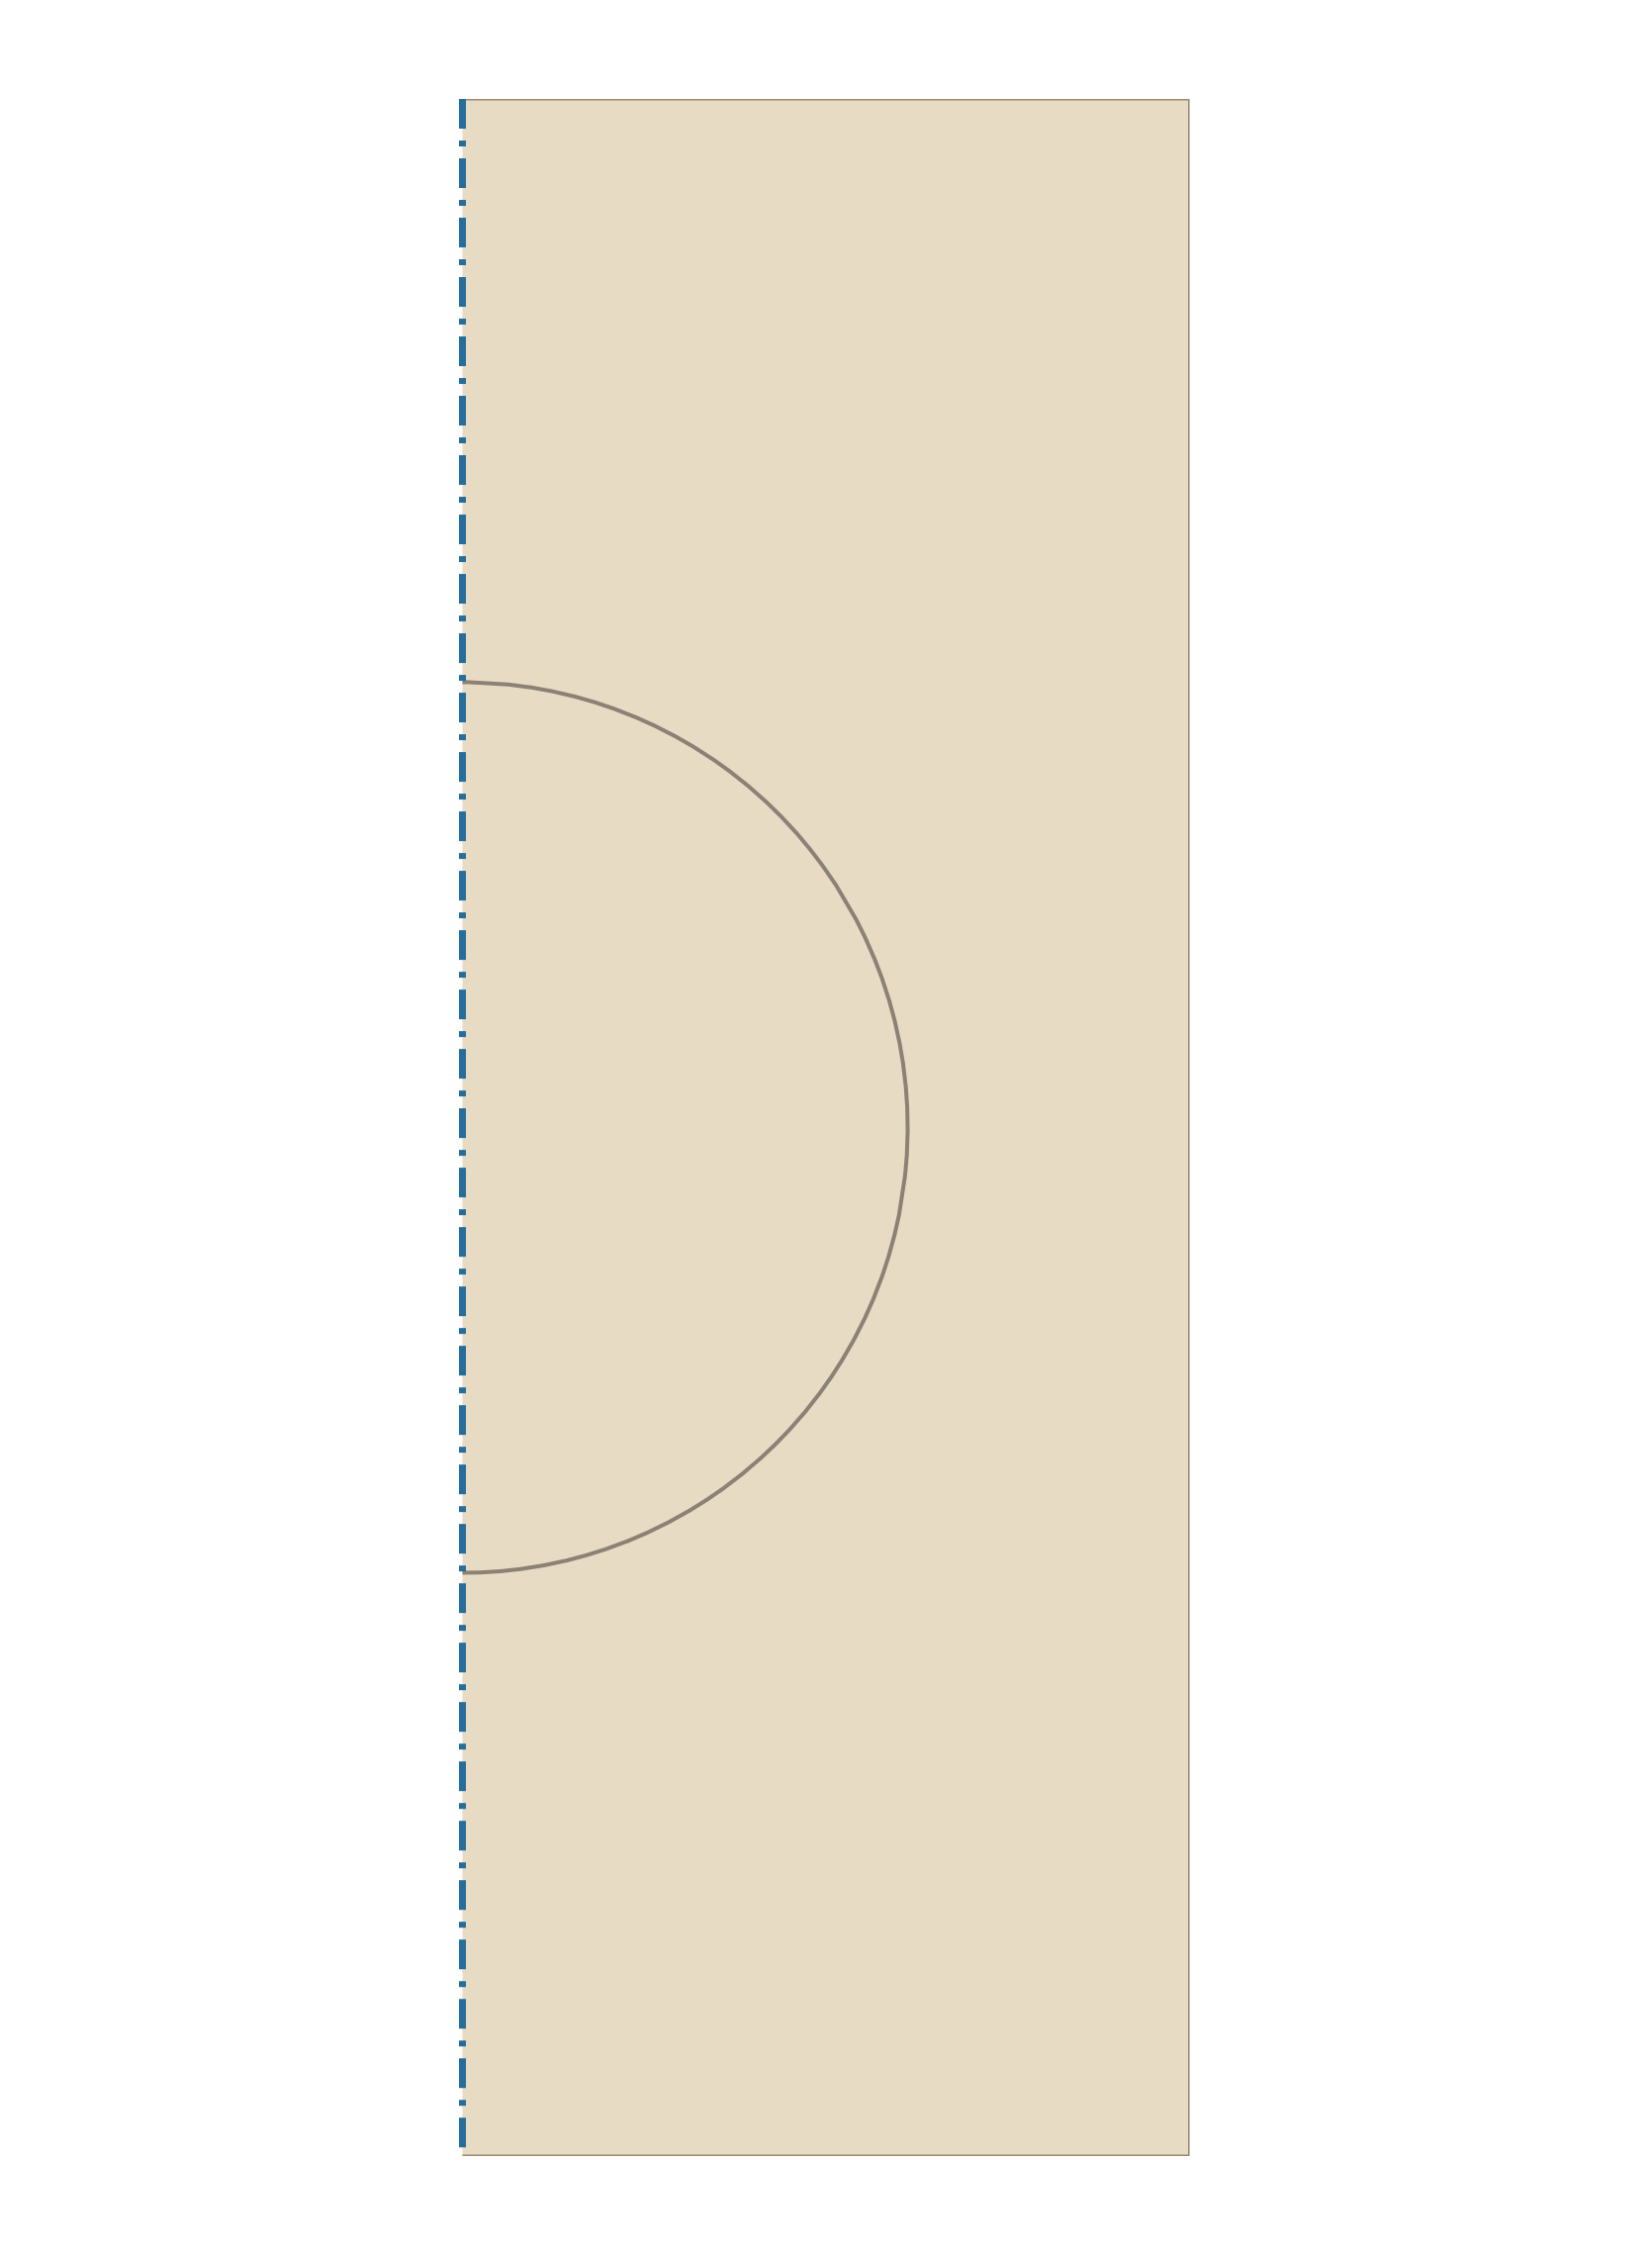
Fold the A4 sheet lengthwise with the closed crease on your left. Transfer only the right half of the outer frame from the full-size guide. Leave the animal, lettering and flowers unmarked for now: they must not be mirrored.
3. Cut the outer frame only
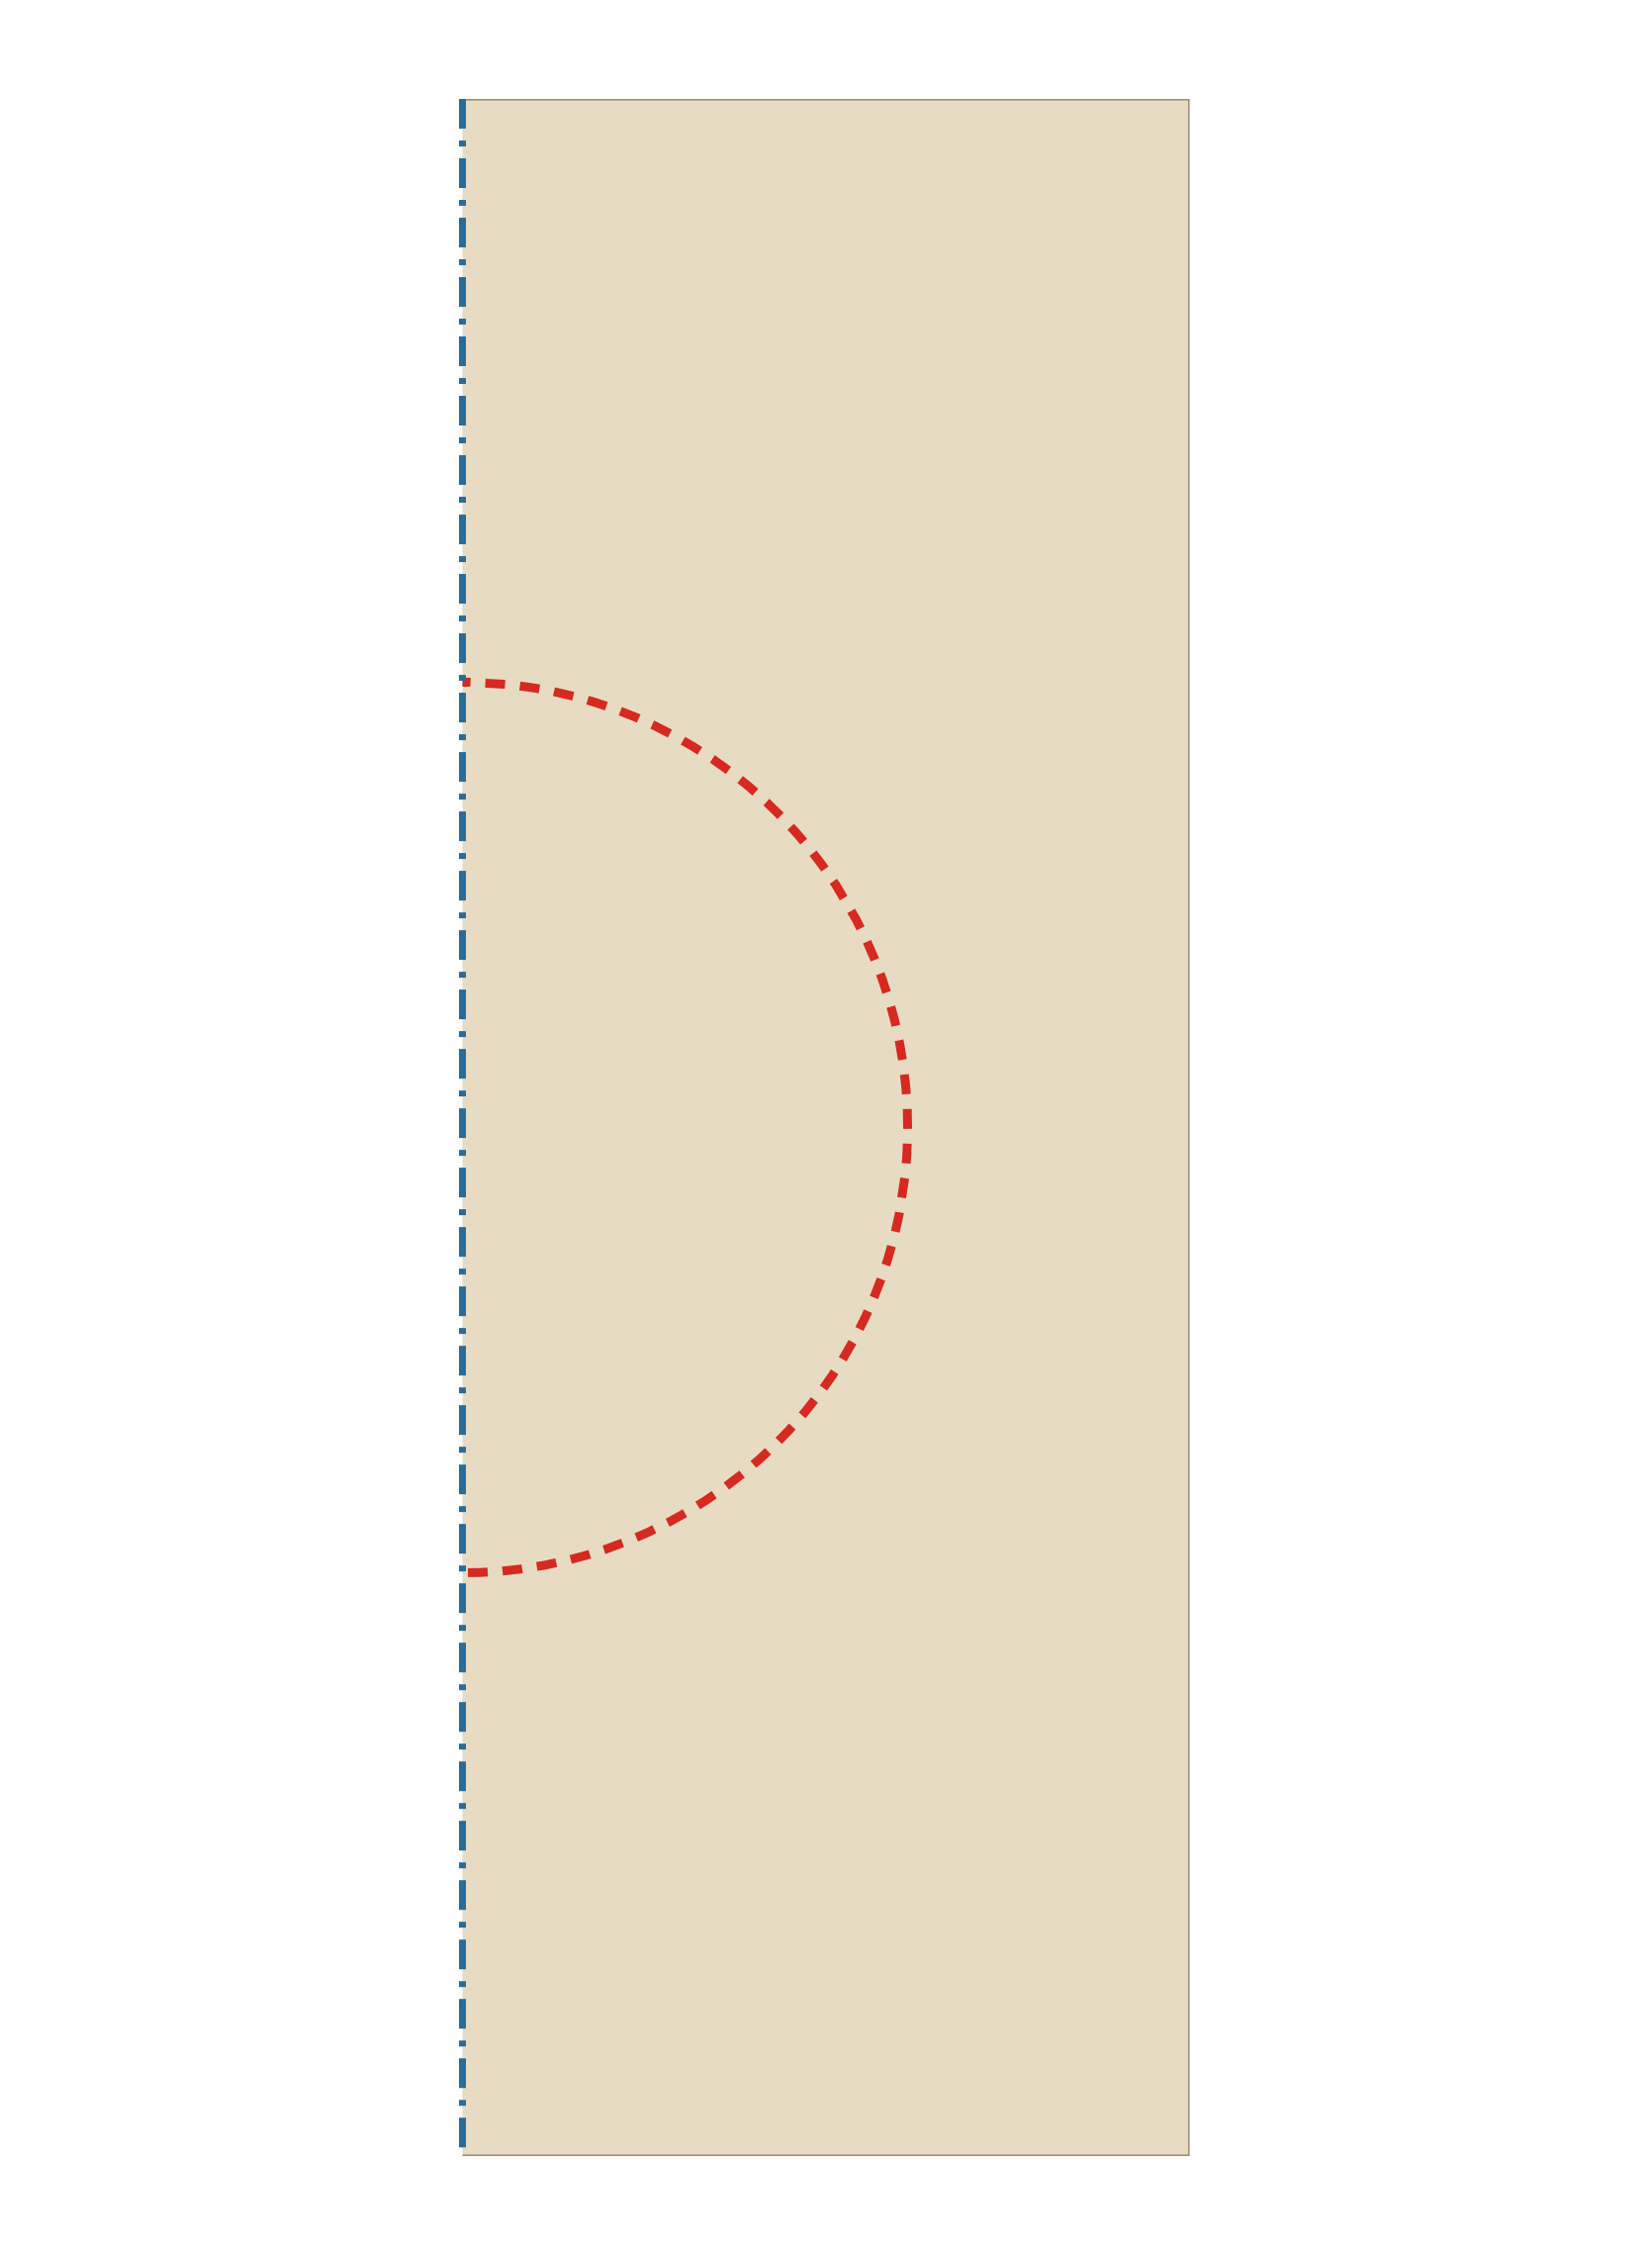
Begin at the loose outside edge of the folded rectangle and approach the red frame outline through waste paper. Cut this outside boundary through both layers. Leave the whole center solid and the connections across the crease intact.
4. Open, then cut the details
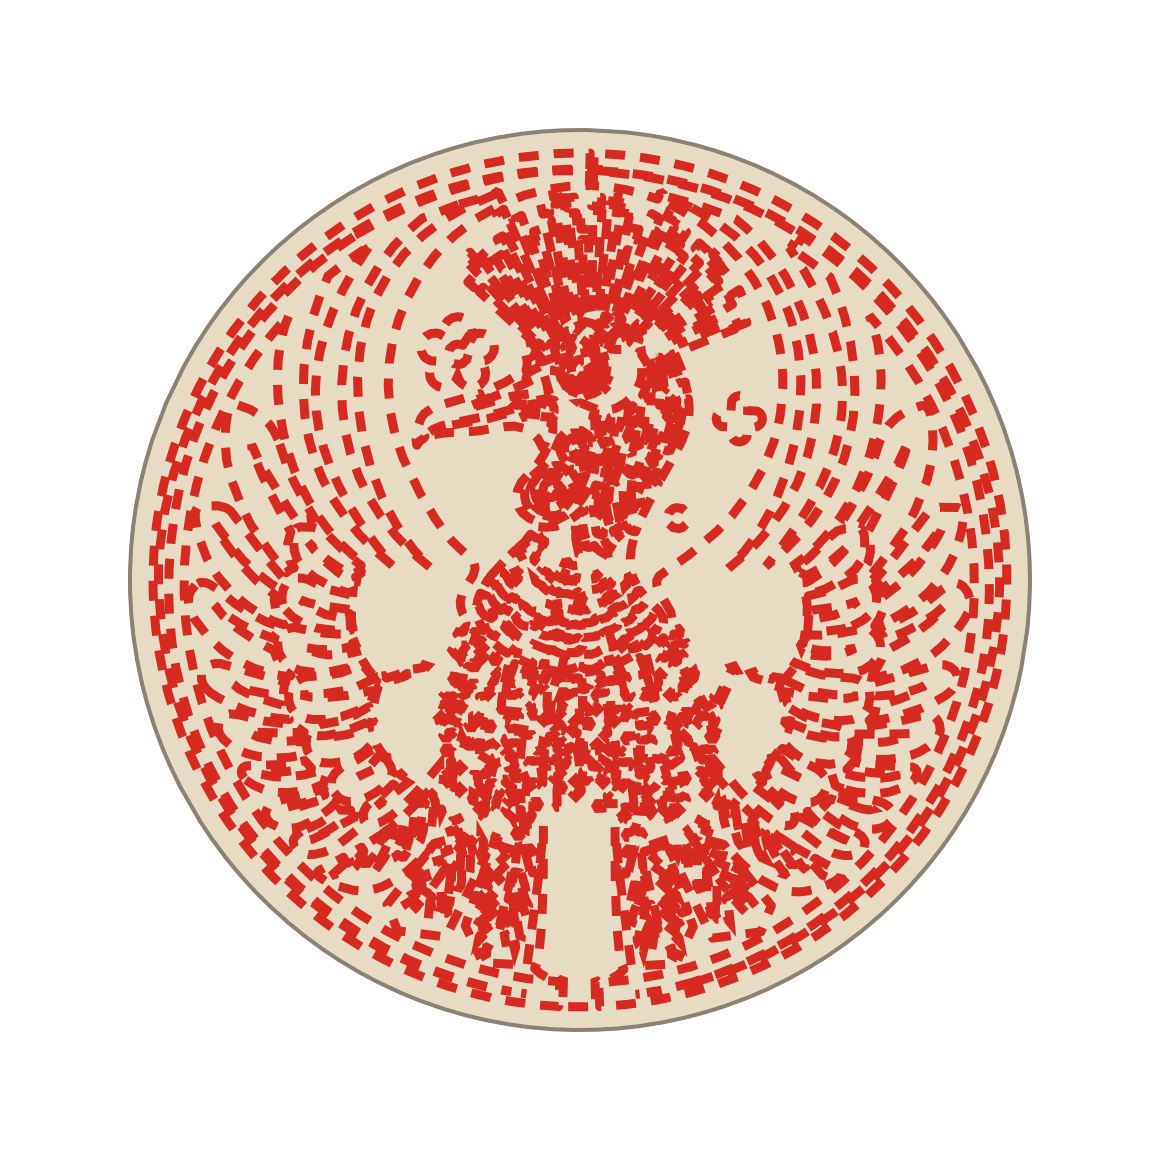
Unfold and flatten the frame. Align and trace the complete original drawing in its correct direction. Now cut the small feather and floral openings, then the larger spaces around the bird, one layer at a time on a cutting mat. Follow the red interior boundaries and preserve the long feathers and their connections to the round frame.
5. Lift and refine

Gently release the cut design from the surrounding offcuts. Lay it flat and trim only attached scraps or uneven edges. Preserve the long feathers and their connections to the round frame. A finished opening does not need to be cut again.
Do not cut the animal, bird, fish or flowers through folded layers. Follow the full-size upright reference after opening the frame.
PDF page 1 is the clean full-size pattern; pages 2–3 show this complete sequence. A4 is the default; the Letter download uses a Letter sheet. Try a scrap first to check fragile bridges.
From download to paper cut
Choose your page size
Download the A4 or US Letter PDF to match the paper in your printer. Save the file before starting.
Print at actual size
Select 100% / Actual size, with “Fit to page” turned off. Measure the calibration line: it should be exactly 50 mm.
Choose the right preparation
Fold the frame; carve flat. Follow the illustrated sequence above, starting with a complete sheet. This PDF shows the complete upright drawing.
Attach or transfer the template
Use low-tack tape or a light pencil trace. For a folded method, transfer only the shared half or rough outer shape described above. For flat cutting, transfer the complete drawing.
Follow the cutting sequence
Follow the numbered illustrations from an uncut sheet. Cut only the red lines for the current step; keep the outer paper until its removal is shown. Adults should handle craft knives on a cutting mat.
Open and refine
Place the sheet flat against the full guide. Finish fine openings and trim uneven edges one layer at a time. Keep connecting bridges intact and support fragile sections.
Lift, flatten, and display
Release the template gently. Flatten the finished piece under a clean sheet of paper, then mount it on a contrasting backing or display it in a window.
A small kit, carefully chosen
- Thin colored paper that you can cut comfortably; test a scrap before committing.
- A printer with A4 or US Letter paper, plus a ruler to check scale.
- Small sharp scissors for accessible edges.
- A craft knife and self-healing mat for enclosed details.
- Low-tack tape or a pencil to hold or transfer the guide.
Allow 90–180 minutes. Planning estimate; no timed physical trial yet. Studio level; physical cutting may be more demanding. Start with a trial cut before preparing a class or group activity.
Learn about paper bridges and cutting techniquesAbout this template
A full, upright phoenix medallion design adapted from the interactive studio. Follow its folding notes to prepare the paper and finish the details. The PDF is a cutting study; the SVG contains editable vector outlines.
Looking for symbolism and cultural context? Visit Symbols & Stories