

Know what stays. Know what goes.
The printable shows the full, upright design. Check the folding notes below before choosing how to prepare the sheet.
Preserve narrow connections between shapes. Loose shapes need a backing sheet or separate placement; the drawing has not been physically tested for connectivity.
From one A4 sheet to your paper cut
Fold, cut & unfold
Both halves of this finished design match. Use one center fold for the printable version, then open it for delicate finishing.
Start with a complete, uncut sheet. Each picture shows the paper before that step; red dashes mark only the next cuts. Keep the surrounding paper until the outside-cutting step.
1. Start with a full A4 sheet
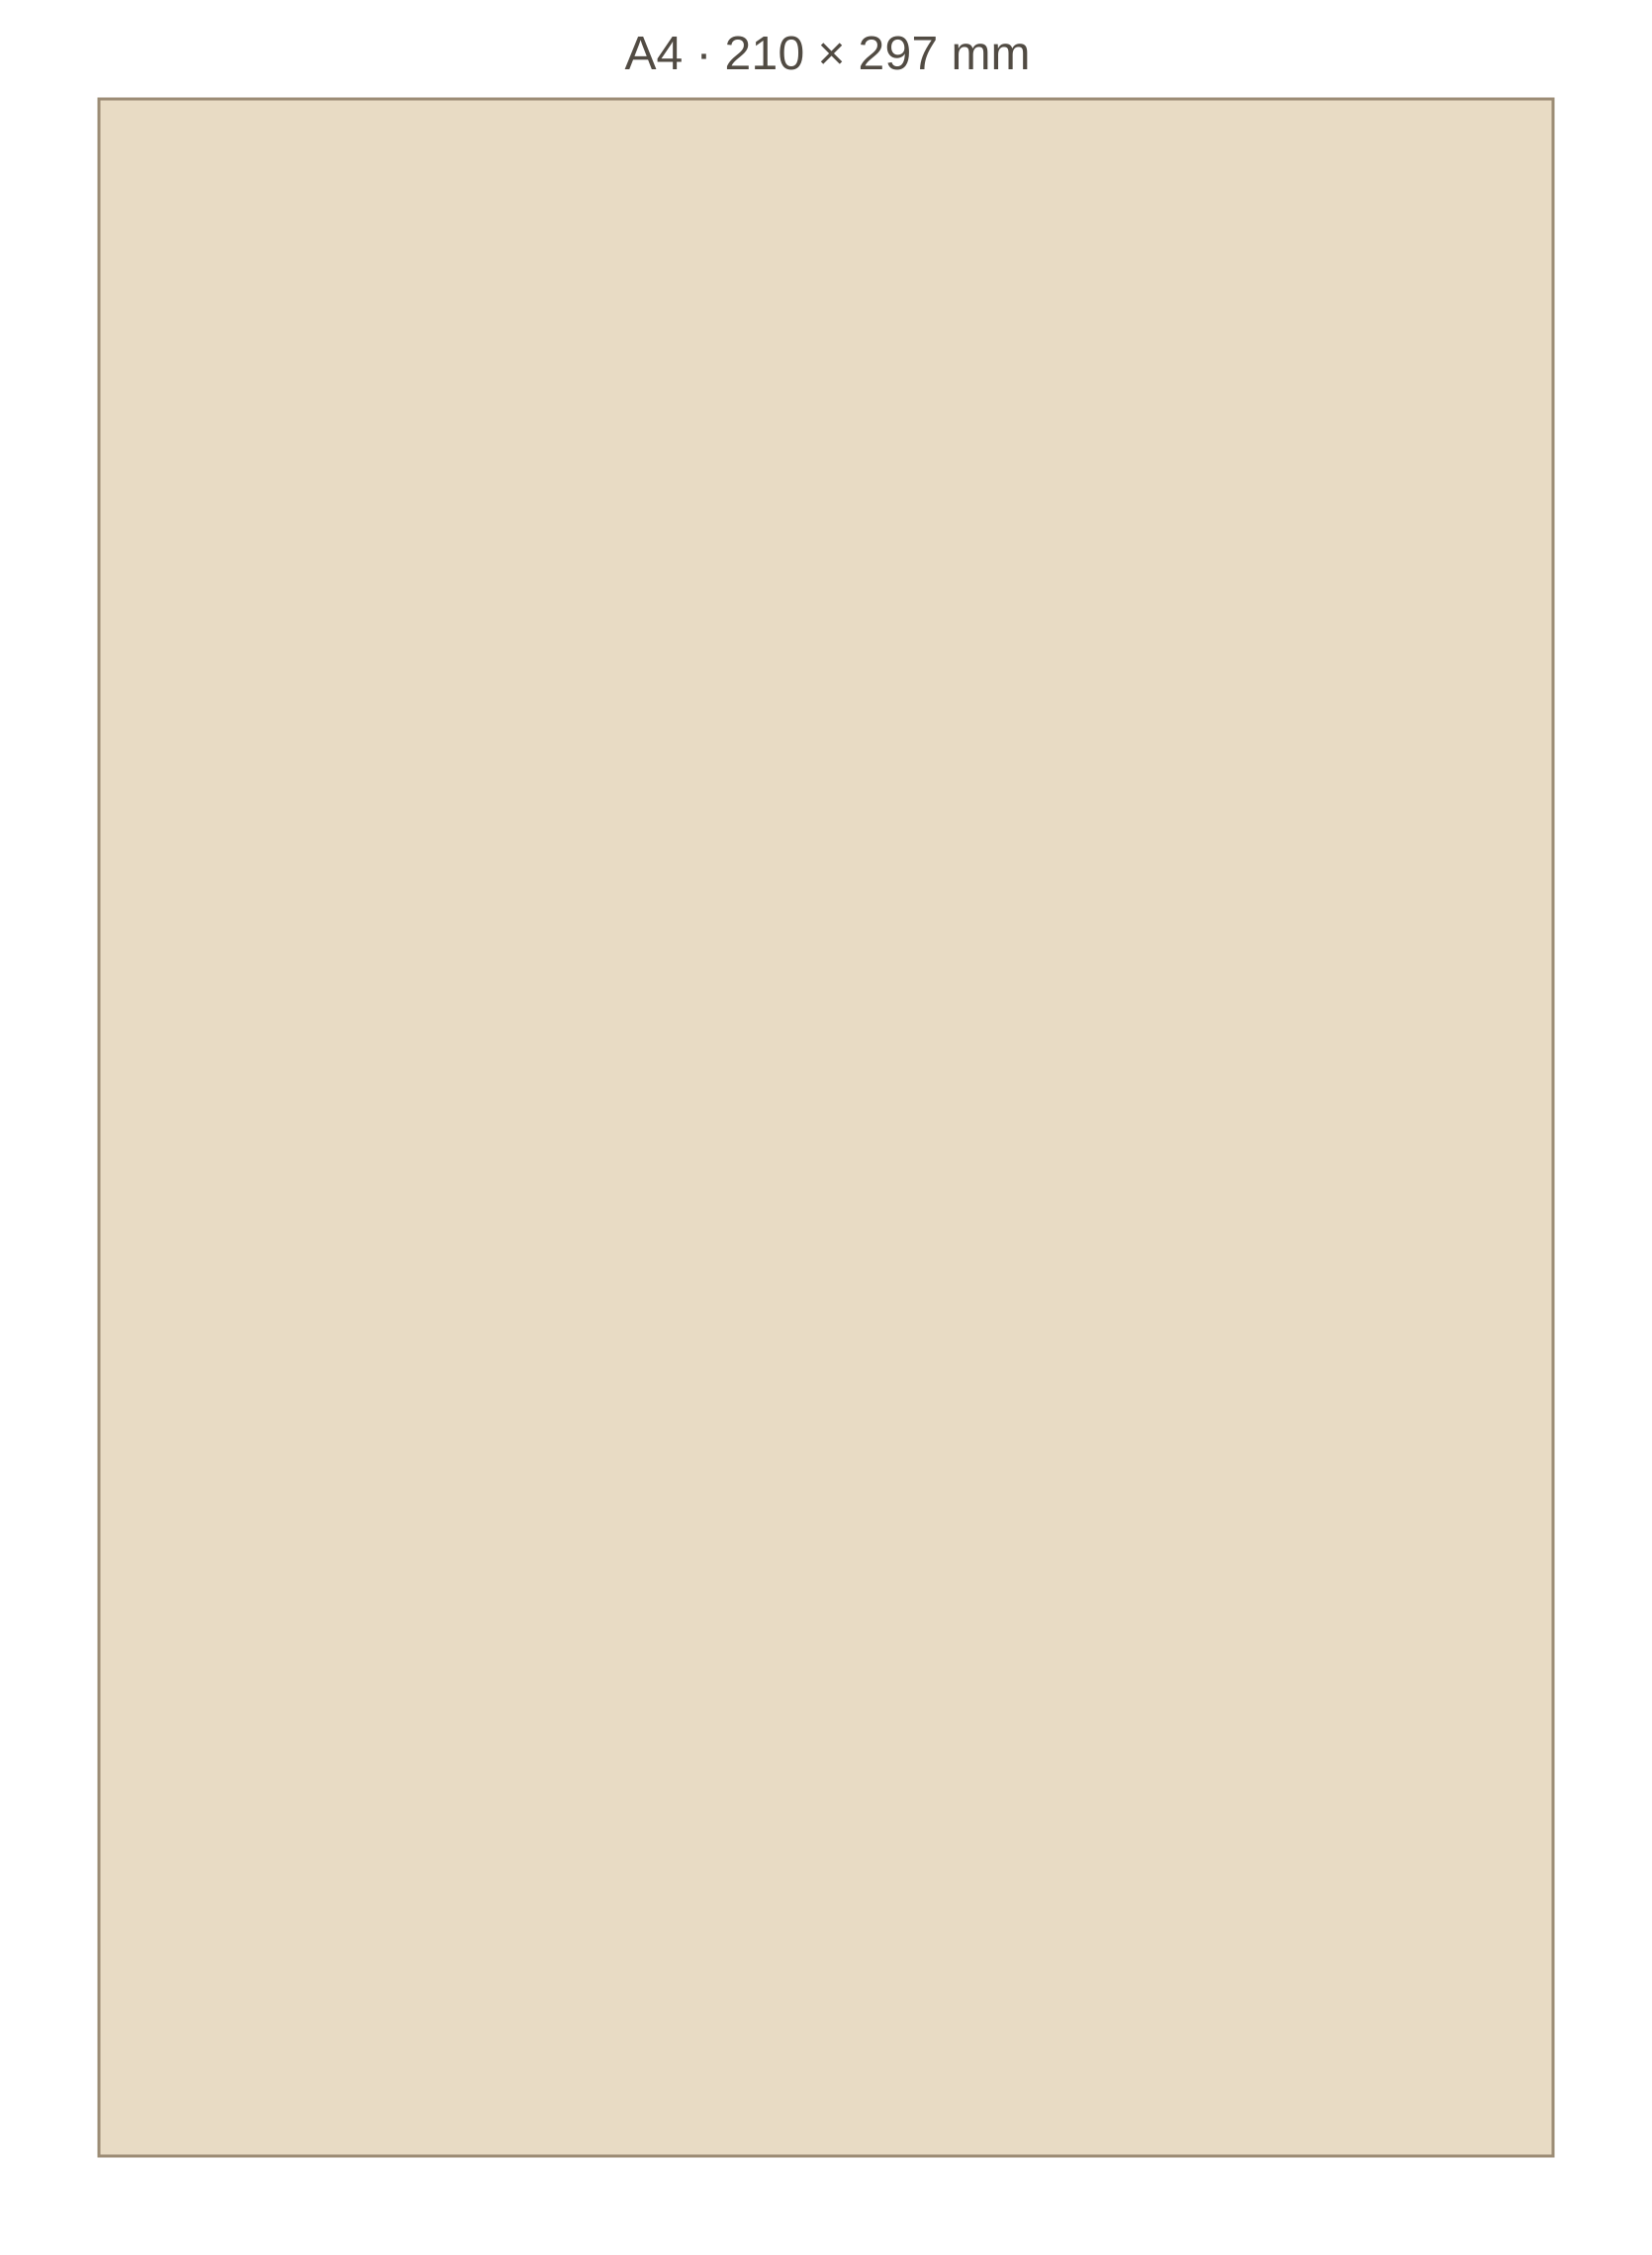
Take one blank A4 sheet (210 x 297 mm), preferably thin colored paper. Print PDF page 1 separately at 100% and check its 50 mm line. Center the pattern on your blank sheet; do not cut off the surrounding paper yet.
2. Fold and transfer half
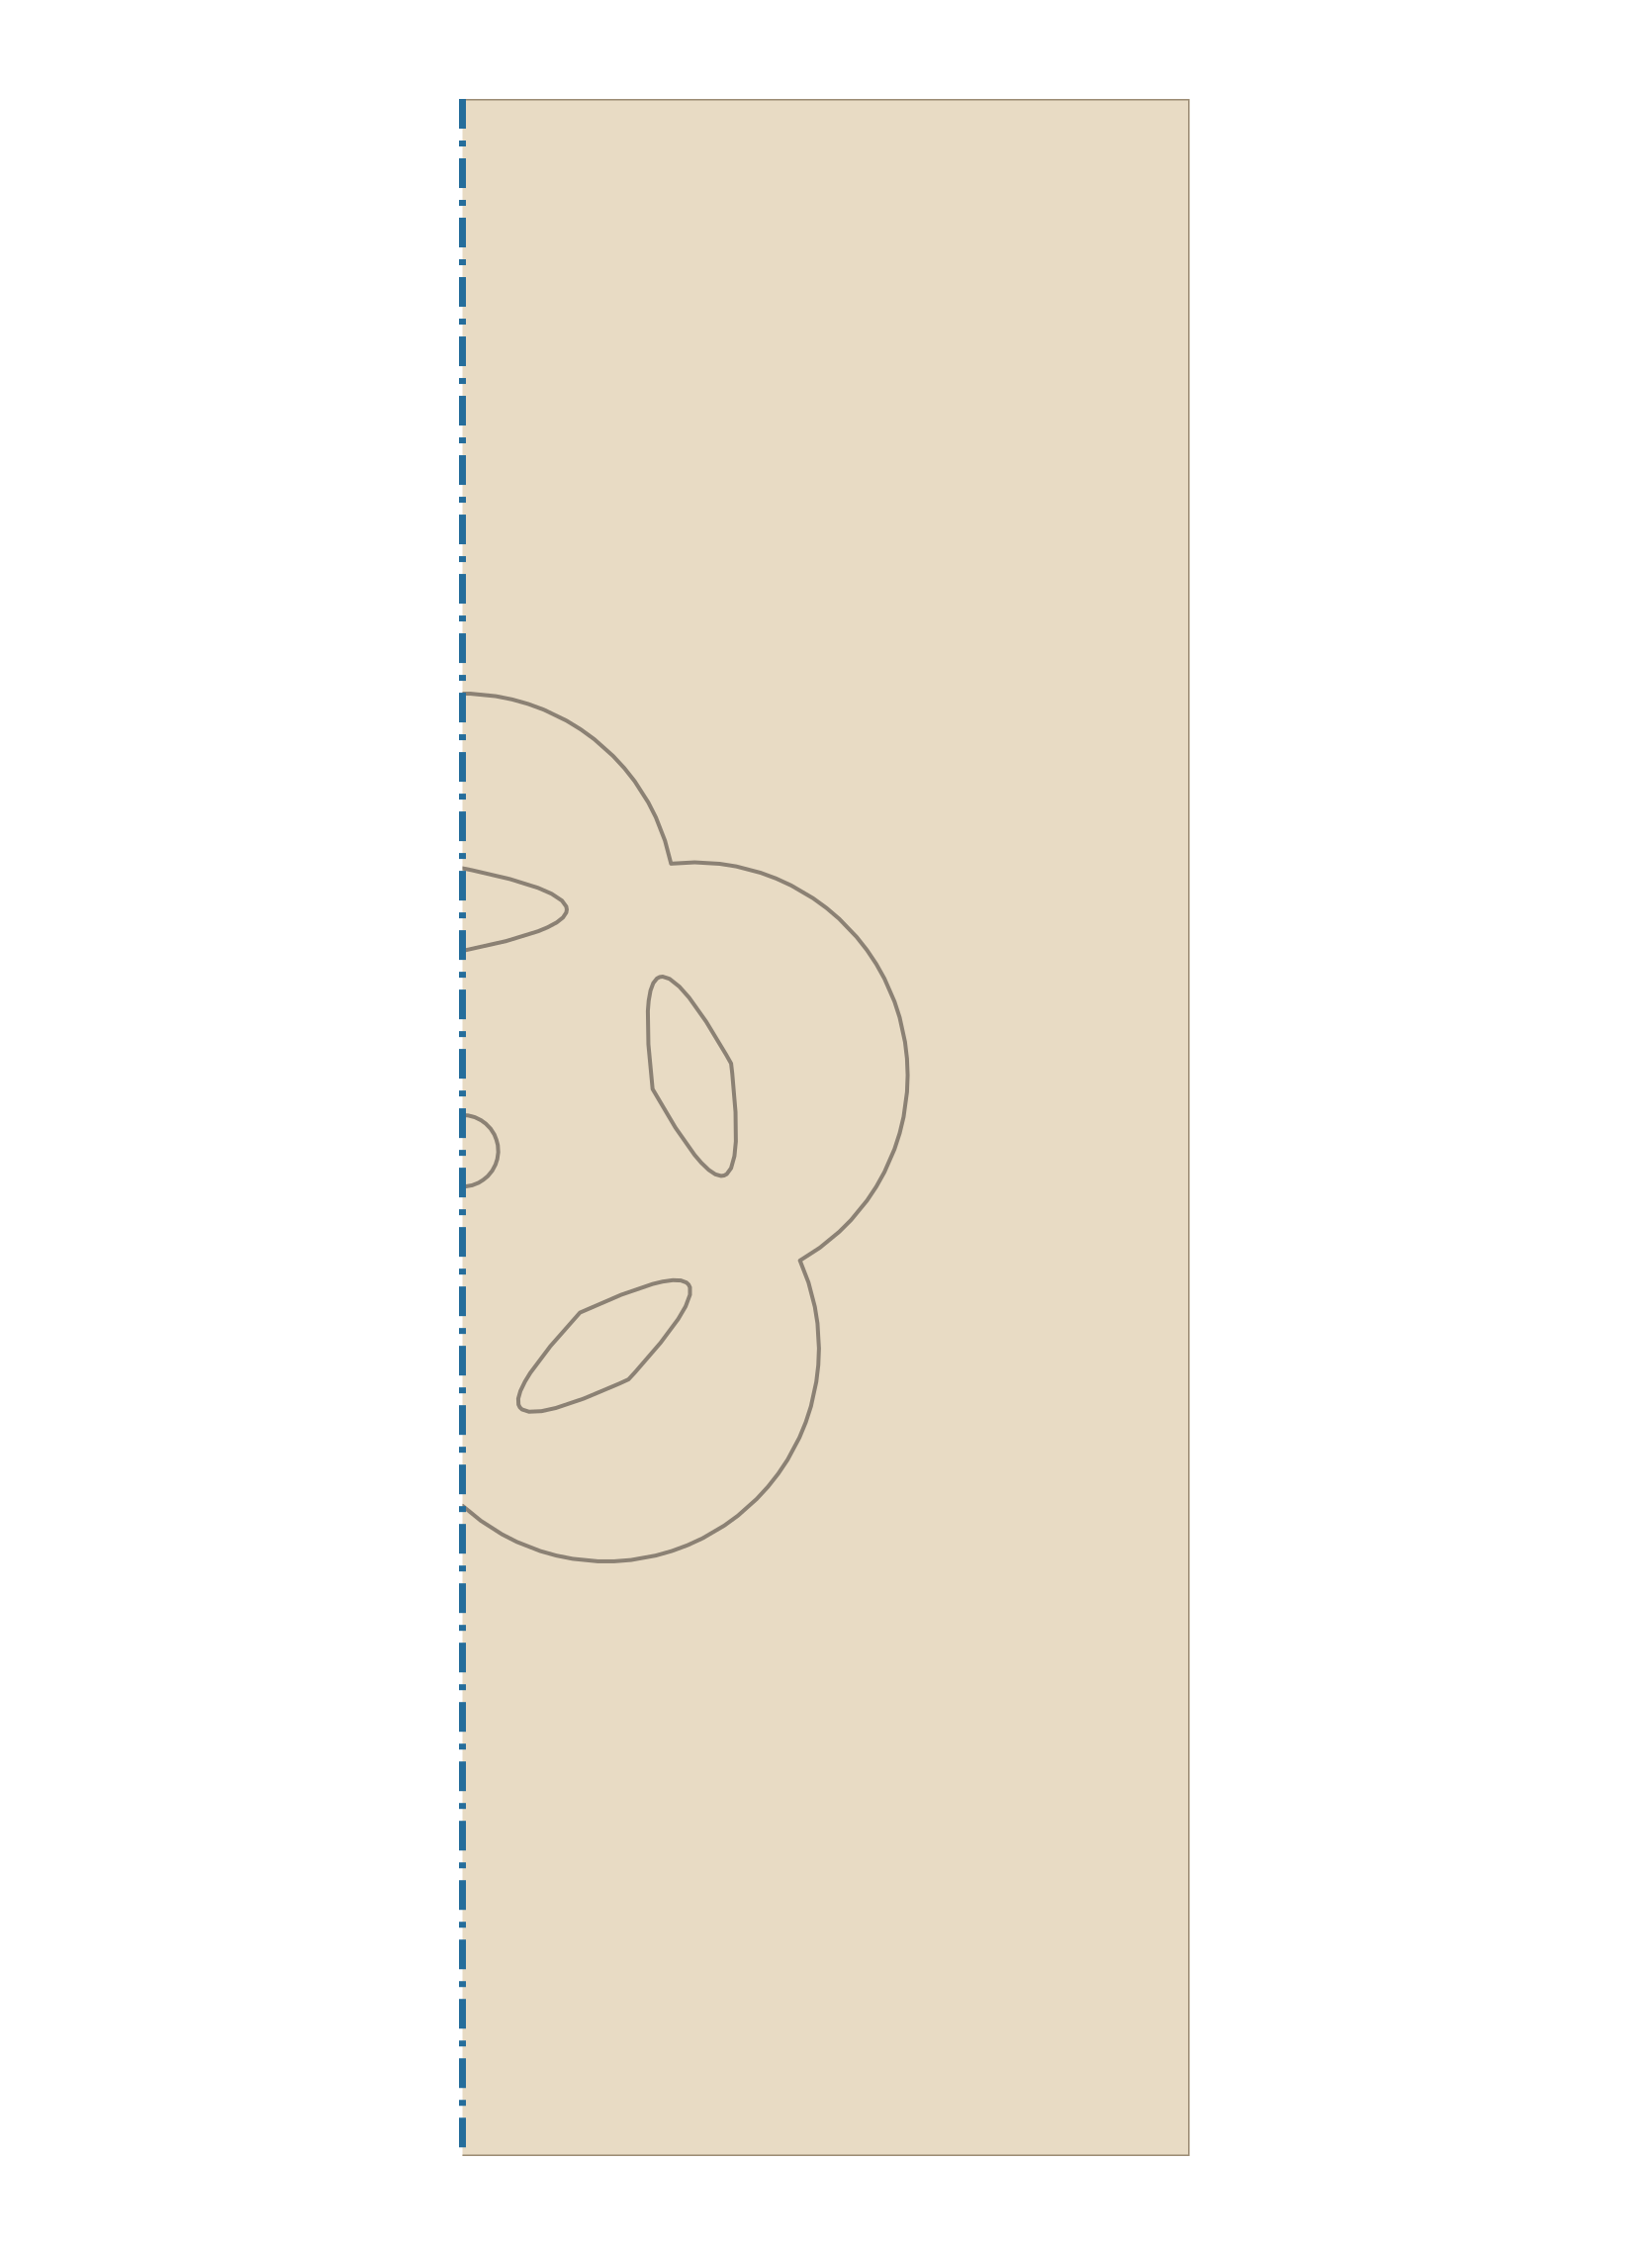
Align the blossom center with the fold. Trace the right half, including its oval petal openings and half of the small center circle. Keep the broad paper between each oval and the outside edge.
3. Cut the inside first
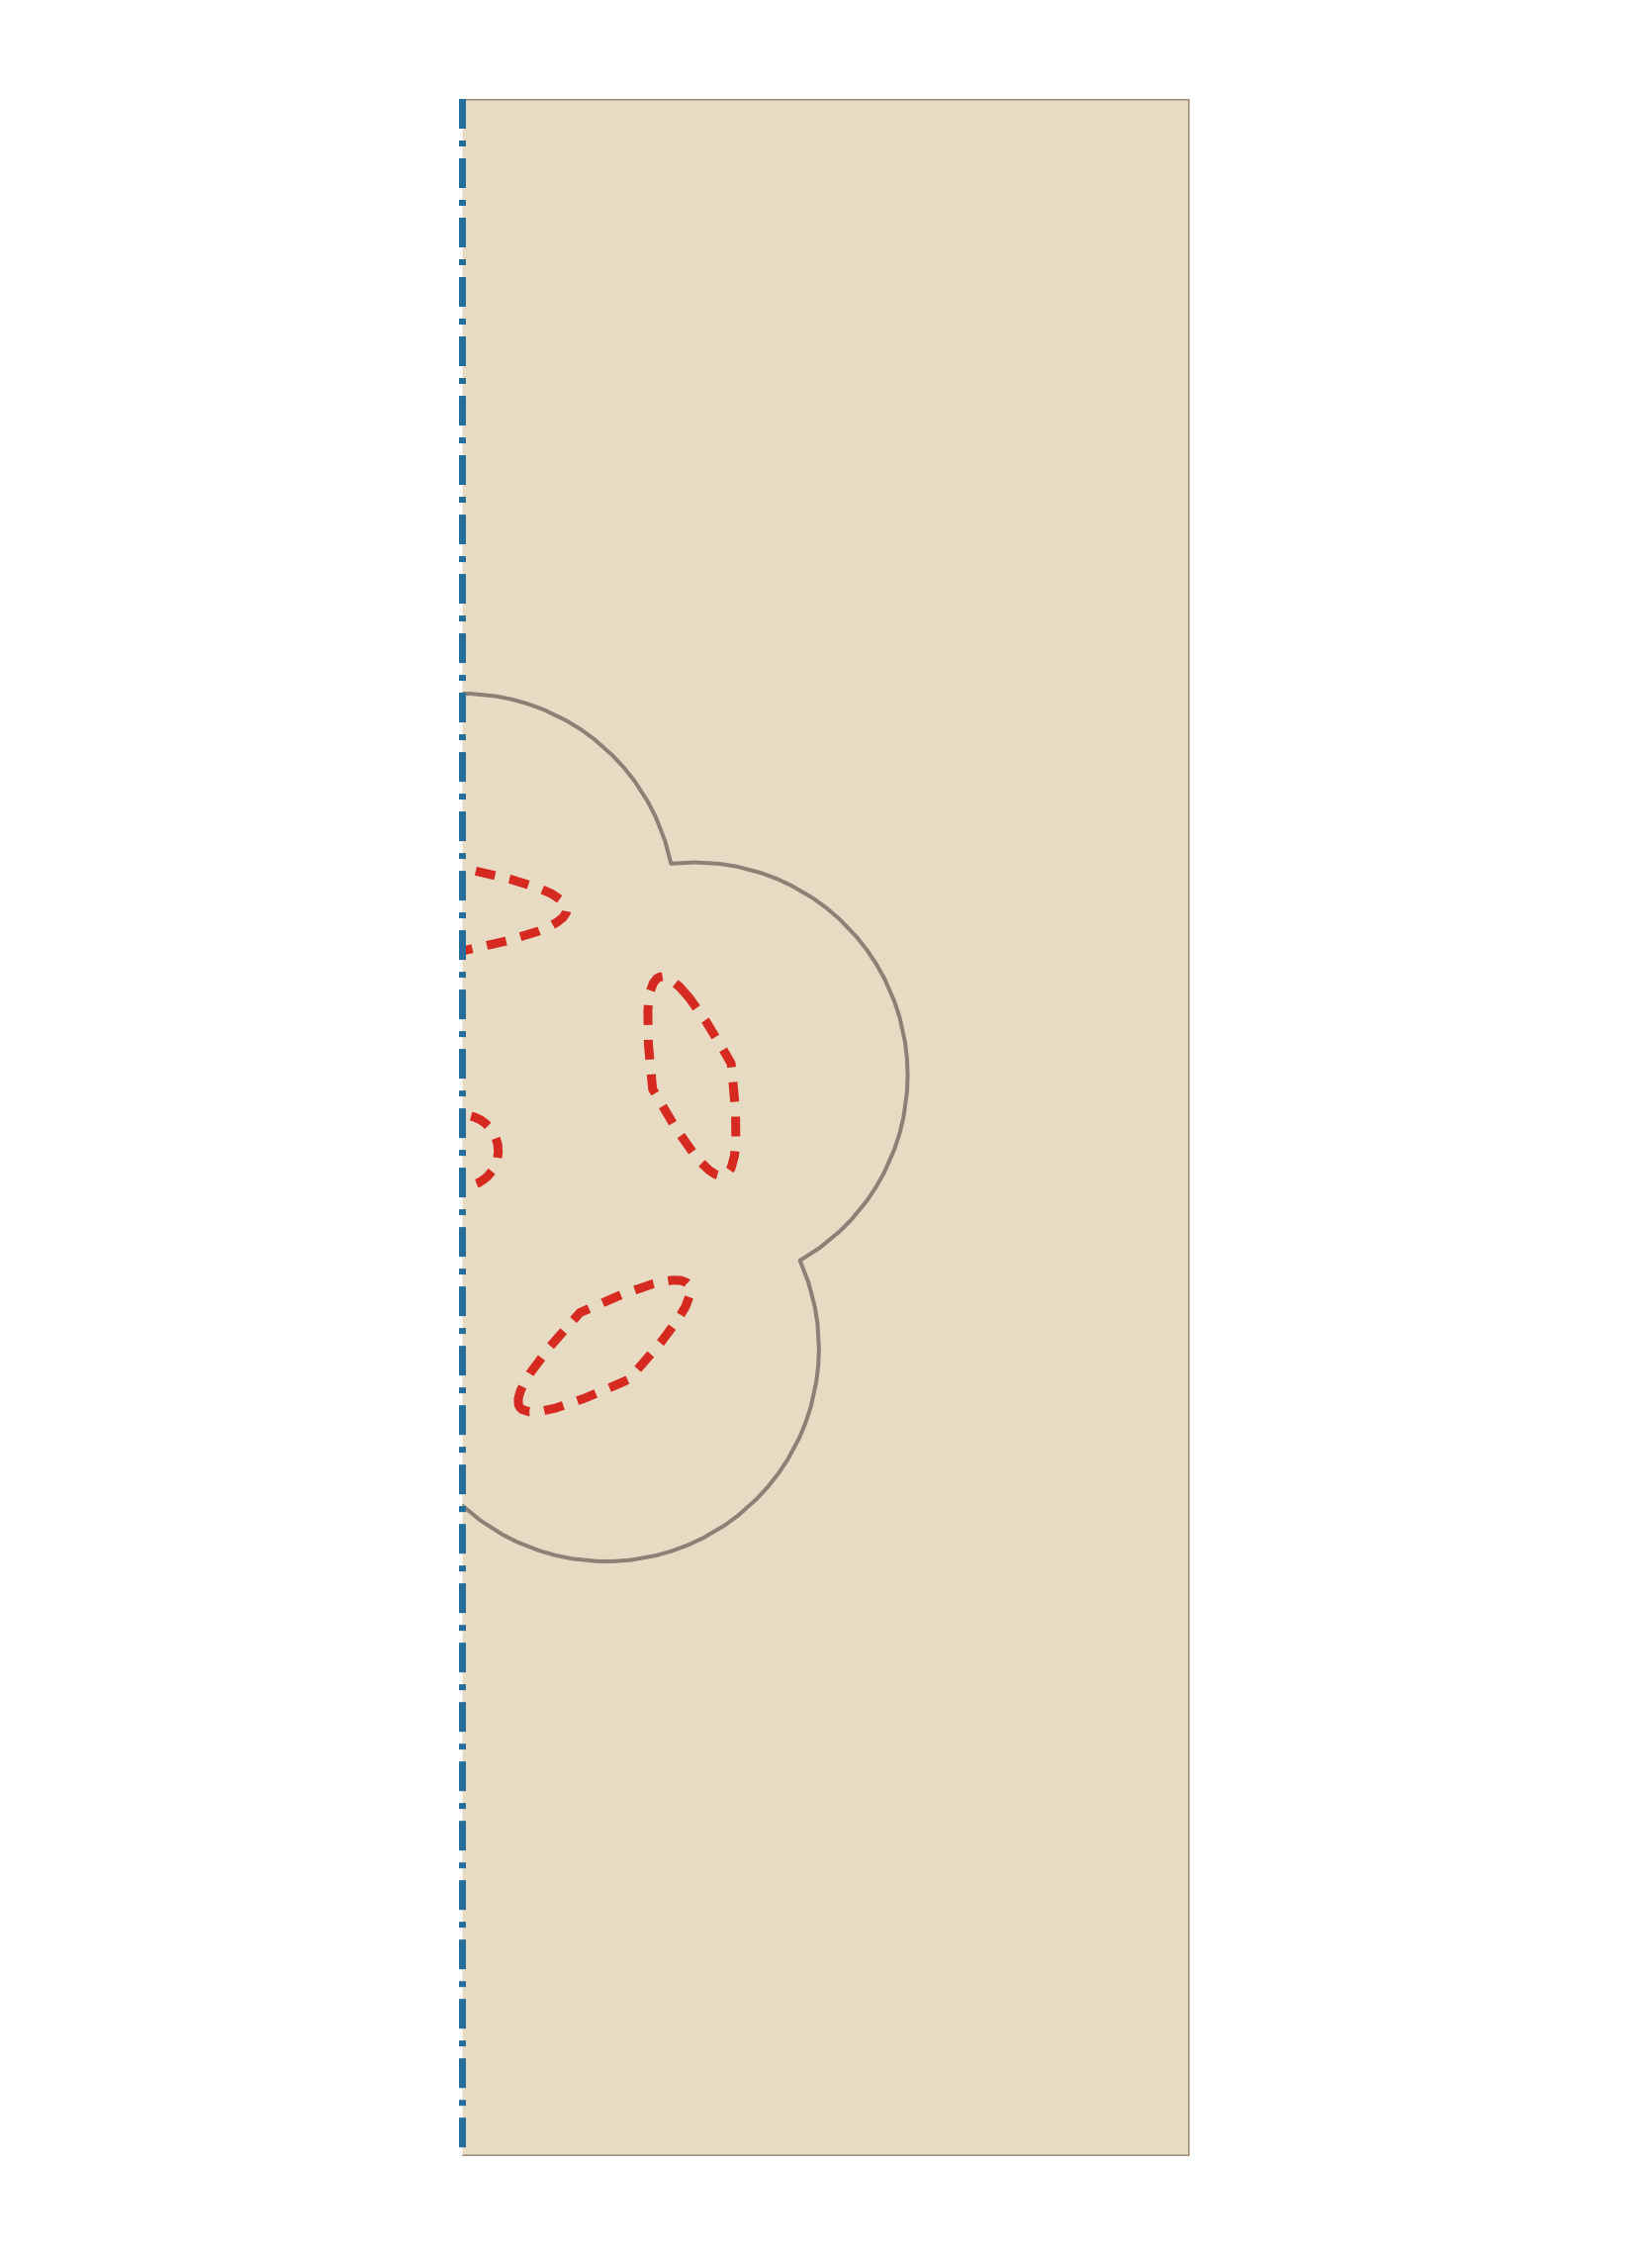
Keep the outside rectangle intact. Cut the center opening from the folded edge, then the petal openings. An adult can start closed holes on a mat. Turn the paper around each oval; do not join an oval to the center hole.
4. Cut the outside contour
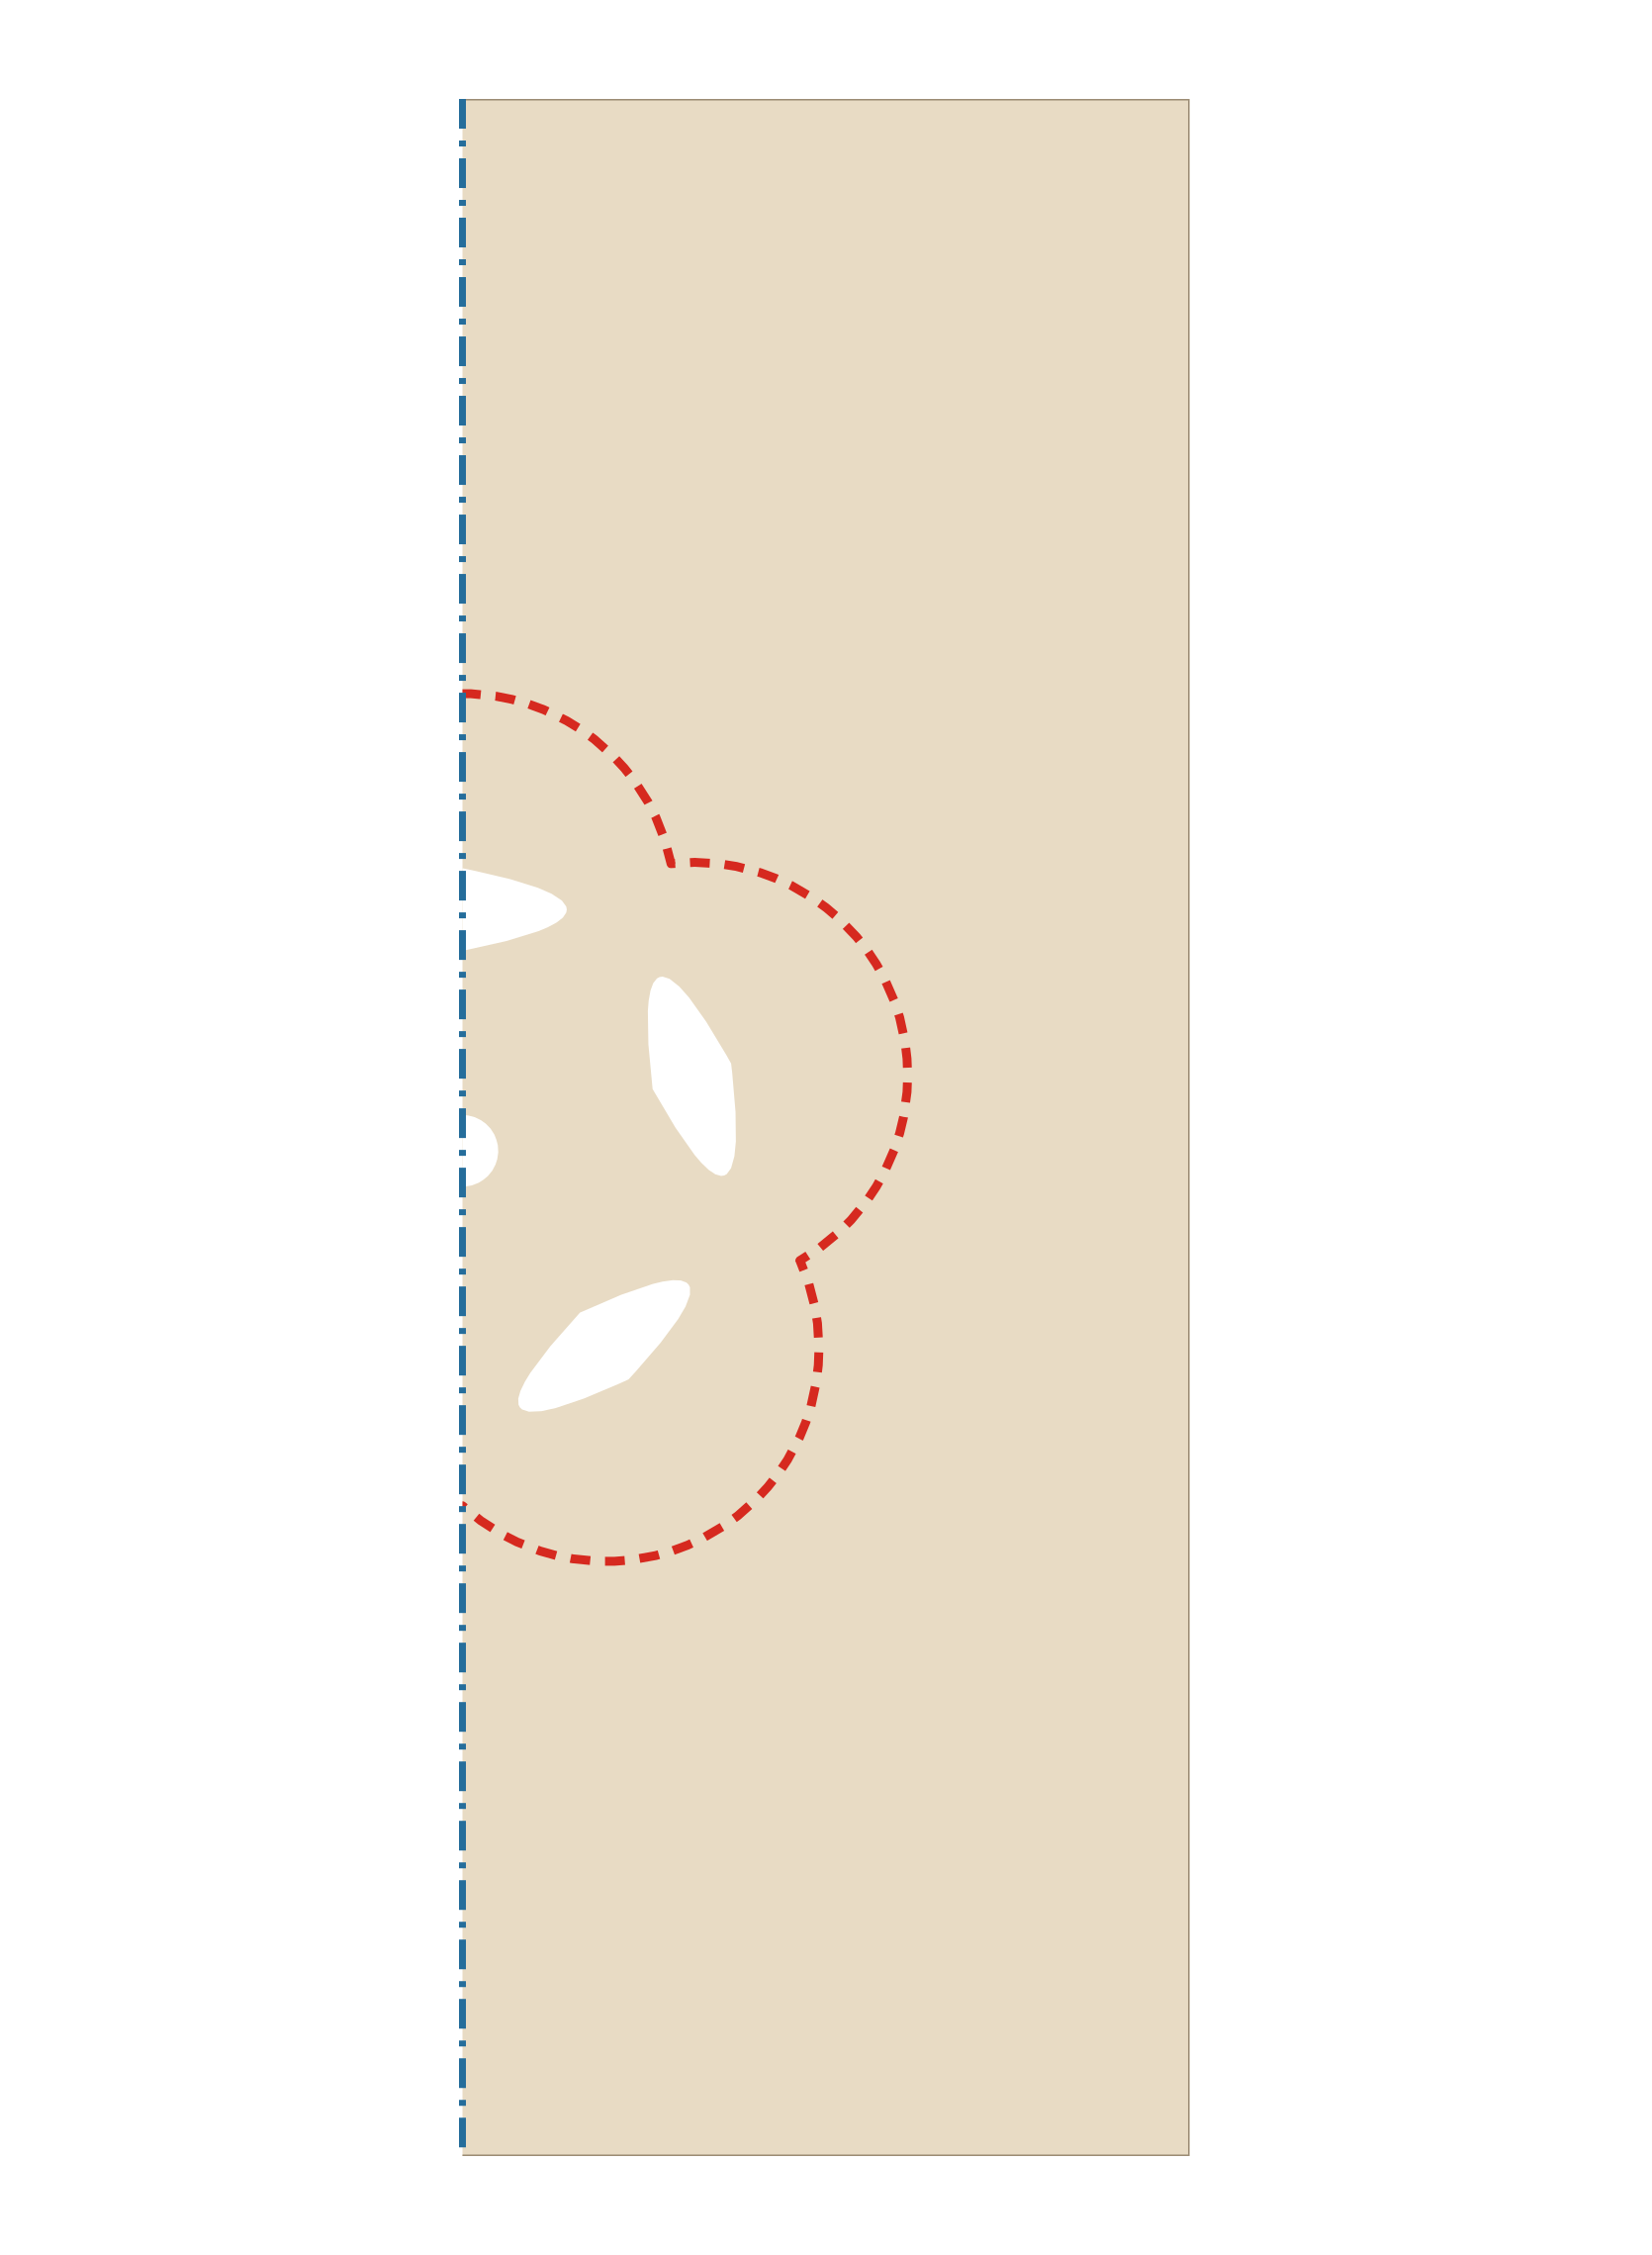
Cut the rounded petal outline through both layers, turning the paper at each shallow dip. Keep the broad petal borders. Open slowly from the outer petals; all five petals should surround the small center hole.
5. Unfold and refine
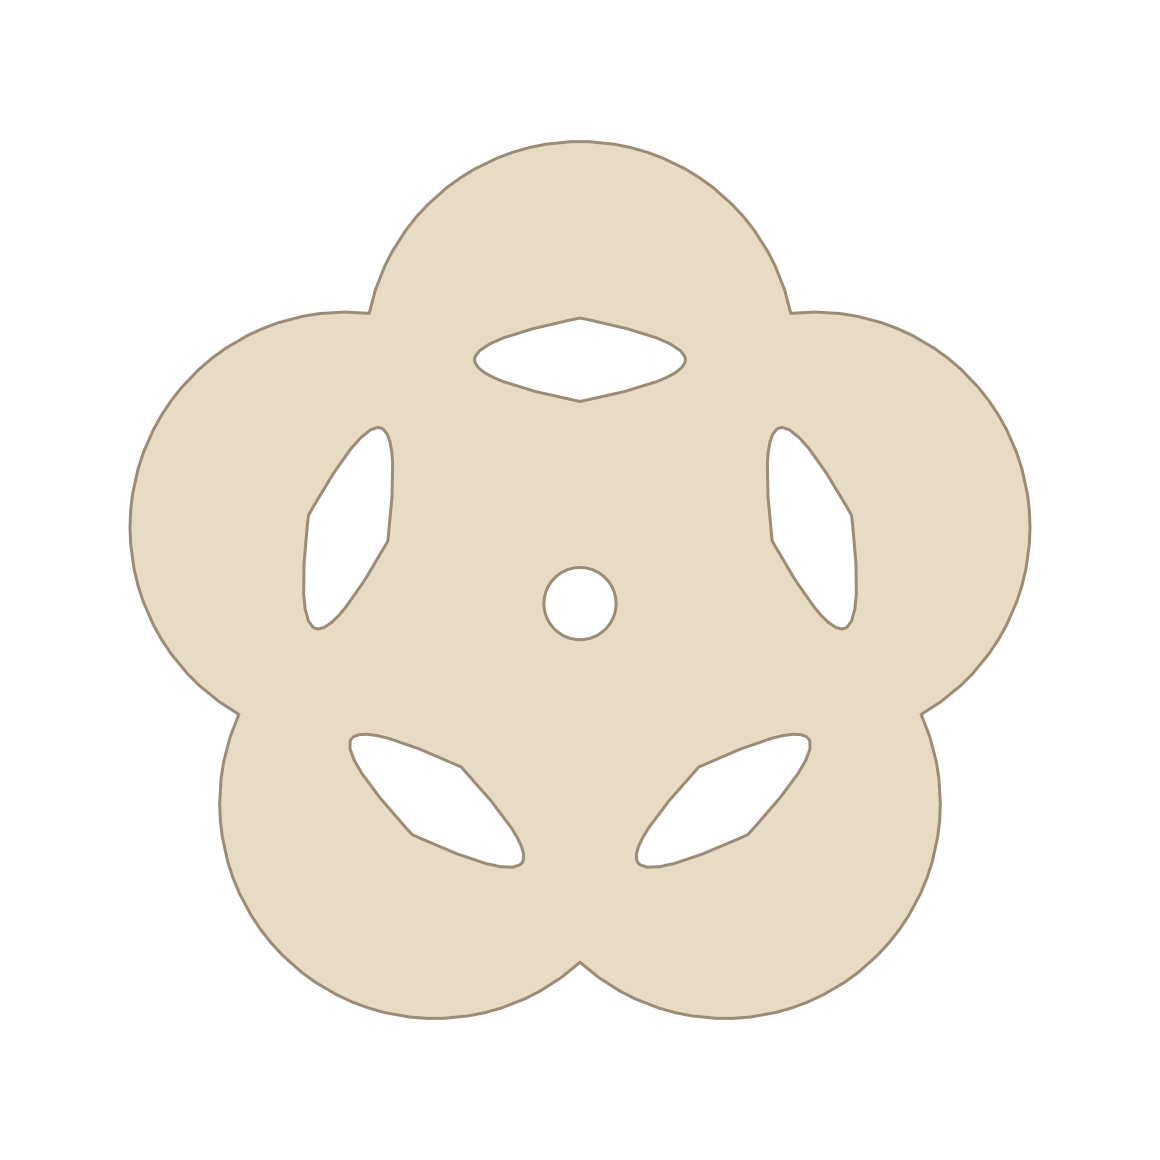
Open the folded paper slowly. Matching openings now appear on both sides. Lay it flat and trim only attached scraps or uneven edges. Preserve the narrow paper between the center and each petal. A finished opening does not need to be cut again.
This printable method uses one center fold. The online game also demonstrates an assisted five-sector stack; ordinary repeated halving cannot make five equal sectors.
PDF page 1 is the clean full-size pattern; pages 2–3 show this complete sequence. A4 is the default; the Letter download uses a Letter sheet. Try a scrap first to check fragile bridges.
Print, prepare, and make
Match the PDF to your paper size and check the 50 mm scale line. Keep the pattern-specific folding sequence above beside you as you work.
Printing a paper cutting template · From download to finished paper cut · Printing and cutting troubleshooting
Paper and tools
Try the paper and tools on a scrap first. Difficulty and time are planning estimates; complete a trial before preparing a group activity.
Paper cutting tools and materialsAbout this template
A full, upright plum blossom design adapted from the interactive studio. Follow its folding notes to prepare the paper and finish the details. The PDF is a cutting study; the SVG contains editable vector outlines.
Meaning of the motif
Resilience & new beginnings · Plum Blossom
Read the cultural context and sources for the recognizable motif. Its use can vary by occasion and tradition.