

Know what stays. Know what goes.
PDF page 1 shows the unfolded reference. Page 2 provides the full-size working half: align its blue fold line with the closed crease on the left.
Keep the black center sections, flower centers, wing ribs and petal bridges connected. Never cross black paper to enter an enclosed white hole. Try scrap paper first; the revised pattern has not been physically cut-tested.
From one A4 or Letter sheet to your paper cut
One fold · cut the working half
Fold thin A4 or US Letter paper once, then cut both layers using the right-half working pattern on PDF page 2. Page 1 shows the unfolded reference at the same scale; it is not the folded cutting pattern. Page 3 and the web steps are diagrams, not full-size tracing patterns.
Start with a complete, uncut sheet. Thin red lines mark the cuts for each cutting step. Keep the surrounding paper until the outside-cutting step; use PDF page 2 for full-size tracing.
1. Print and check the scale
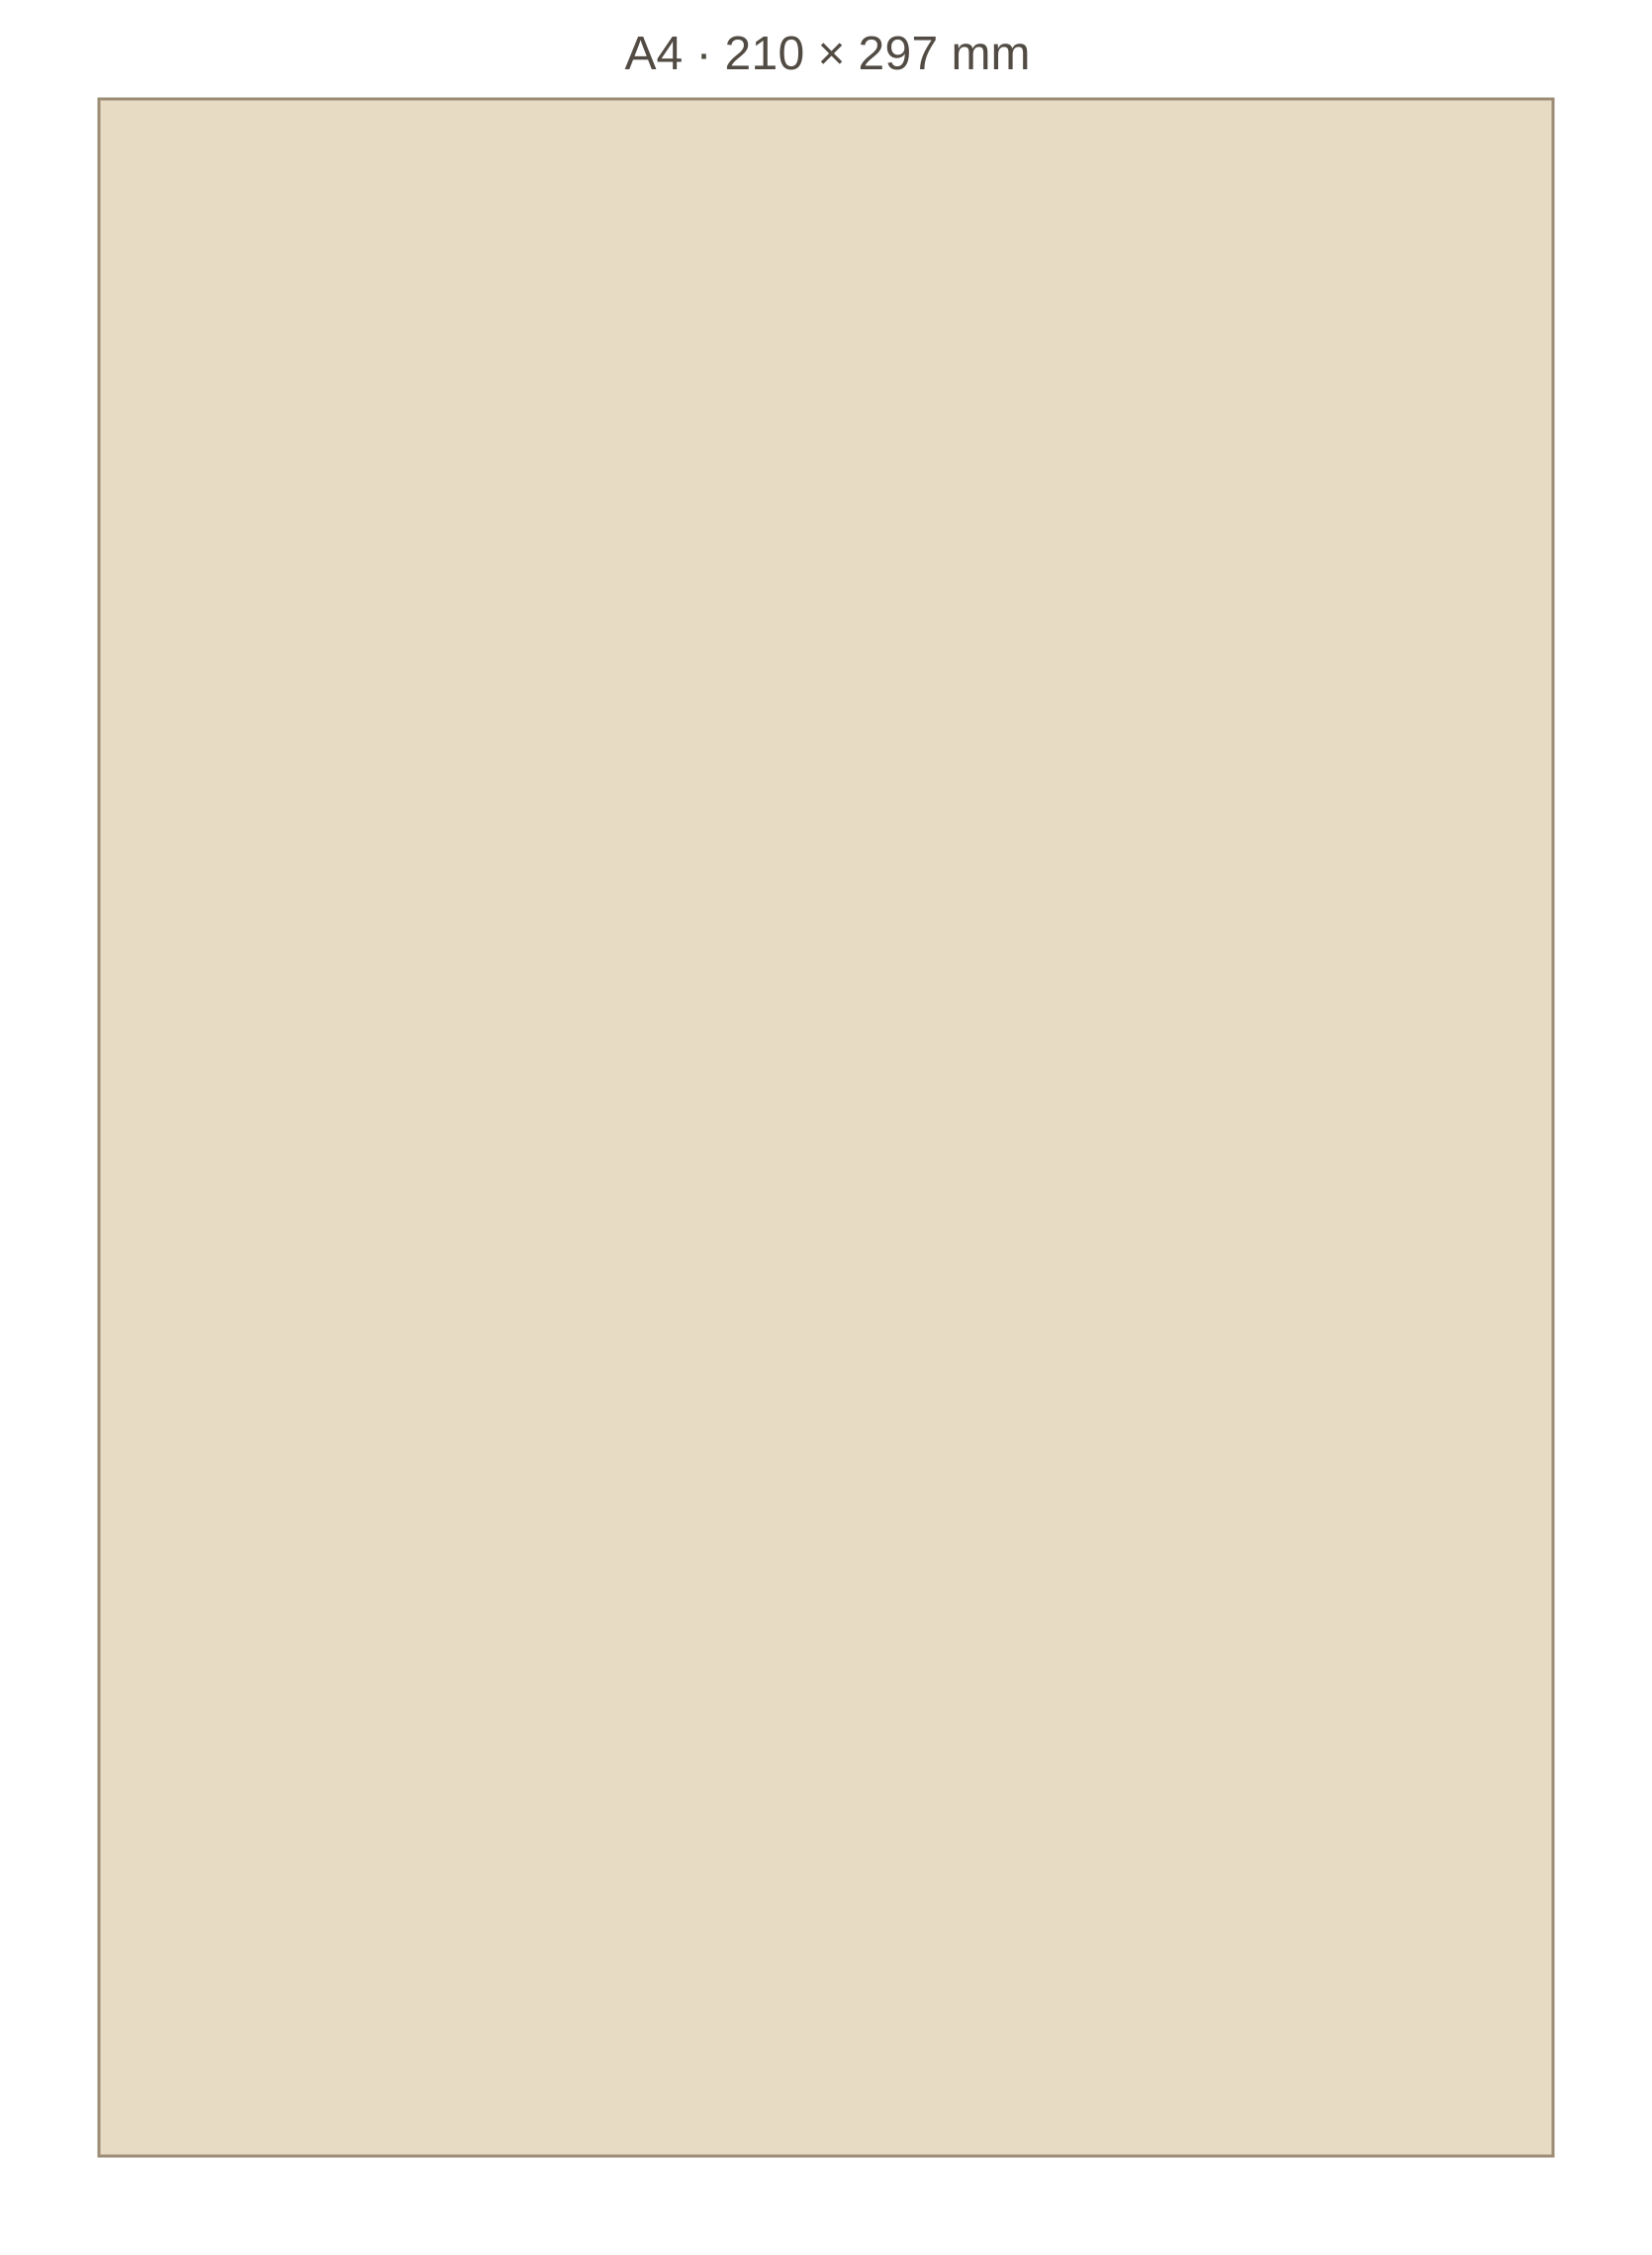
Print the matching A4 or Letter PDF at 100% / actual size, with fit-to-page off. Check the 50 mm calibration line. Prepare thin paper of the same size; do not trim it to a square. Page 1 is the unfolded reference. Use the full-size working half on page 2 for tracing, not these step diagrams.
2. Fold and trace the working half

Bring the left long edge to the right long edge once. Keep the closed fold on the left and the two layers aligned. Align the blue fold line on PDF page 2 with that crease, then trace the right-half outline and holes onto the upper face. Keep the surrounding sheet intact; do not cut yet.
3. Cut the white holes first
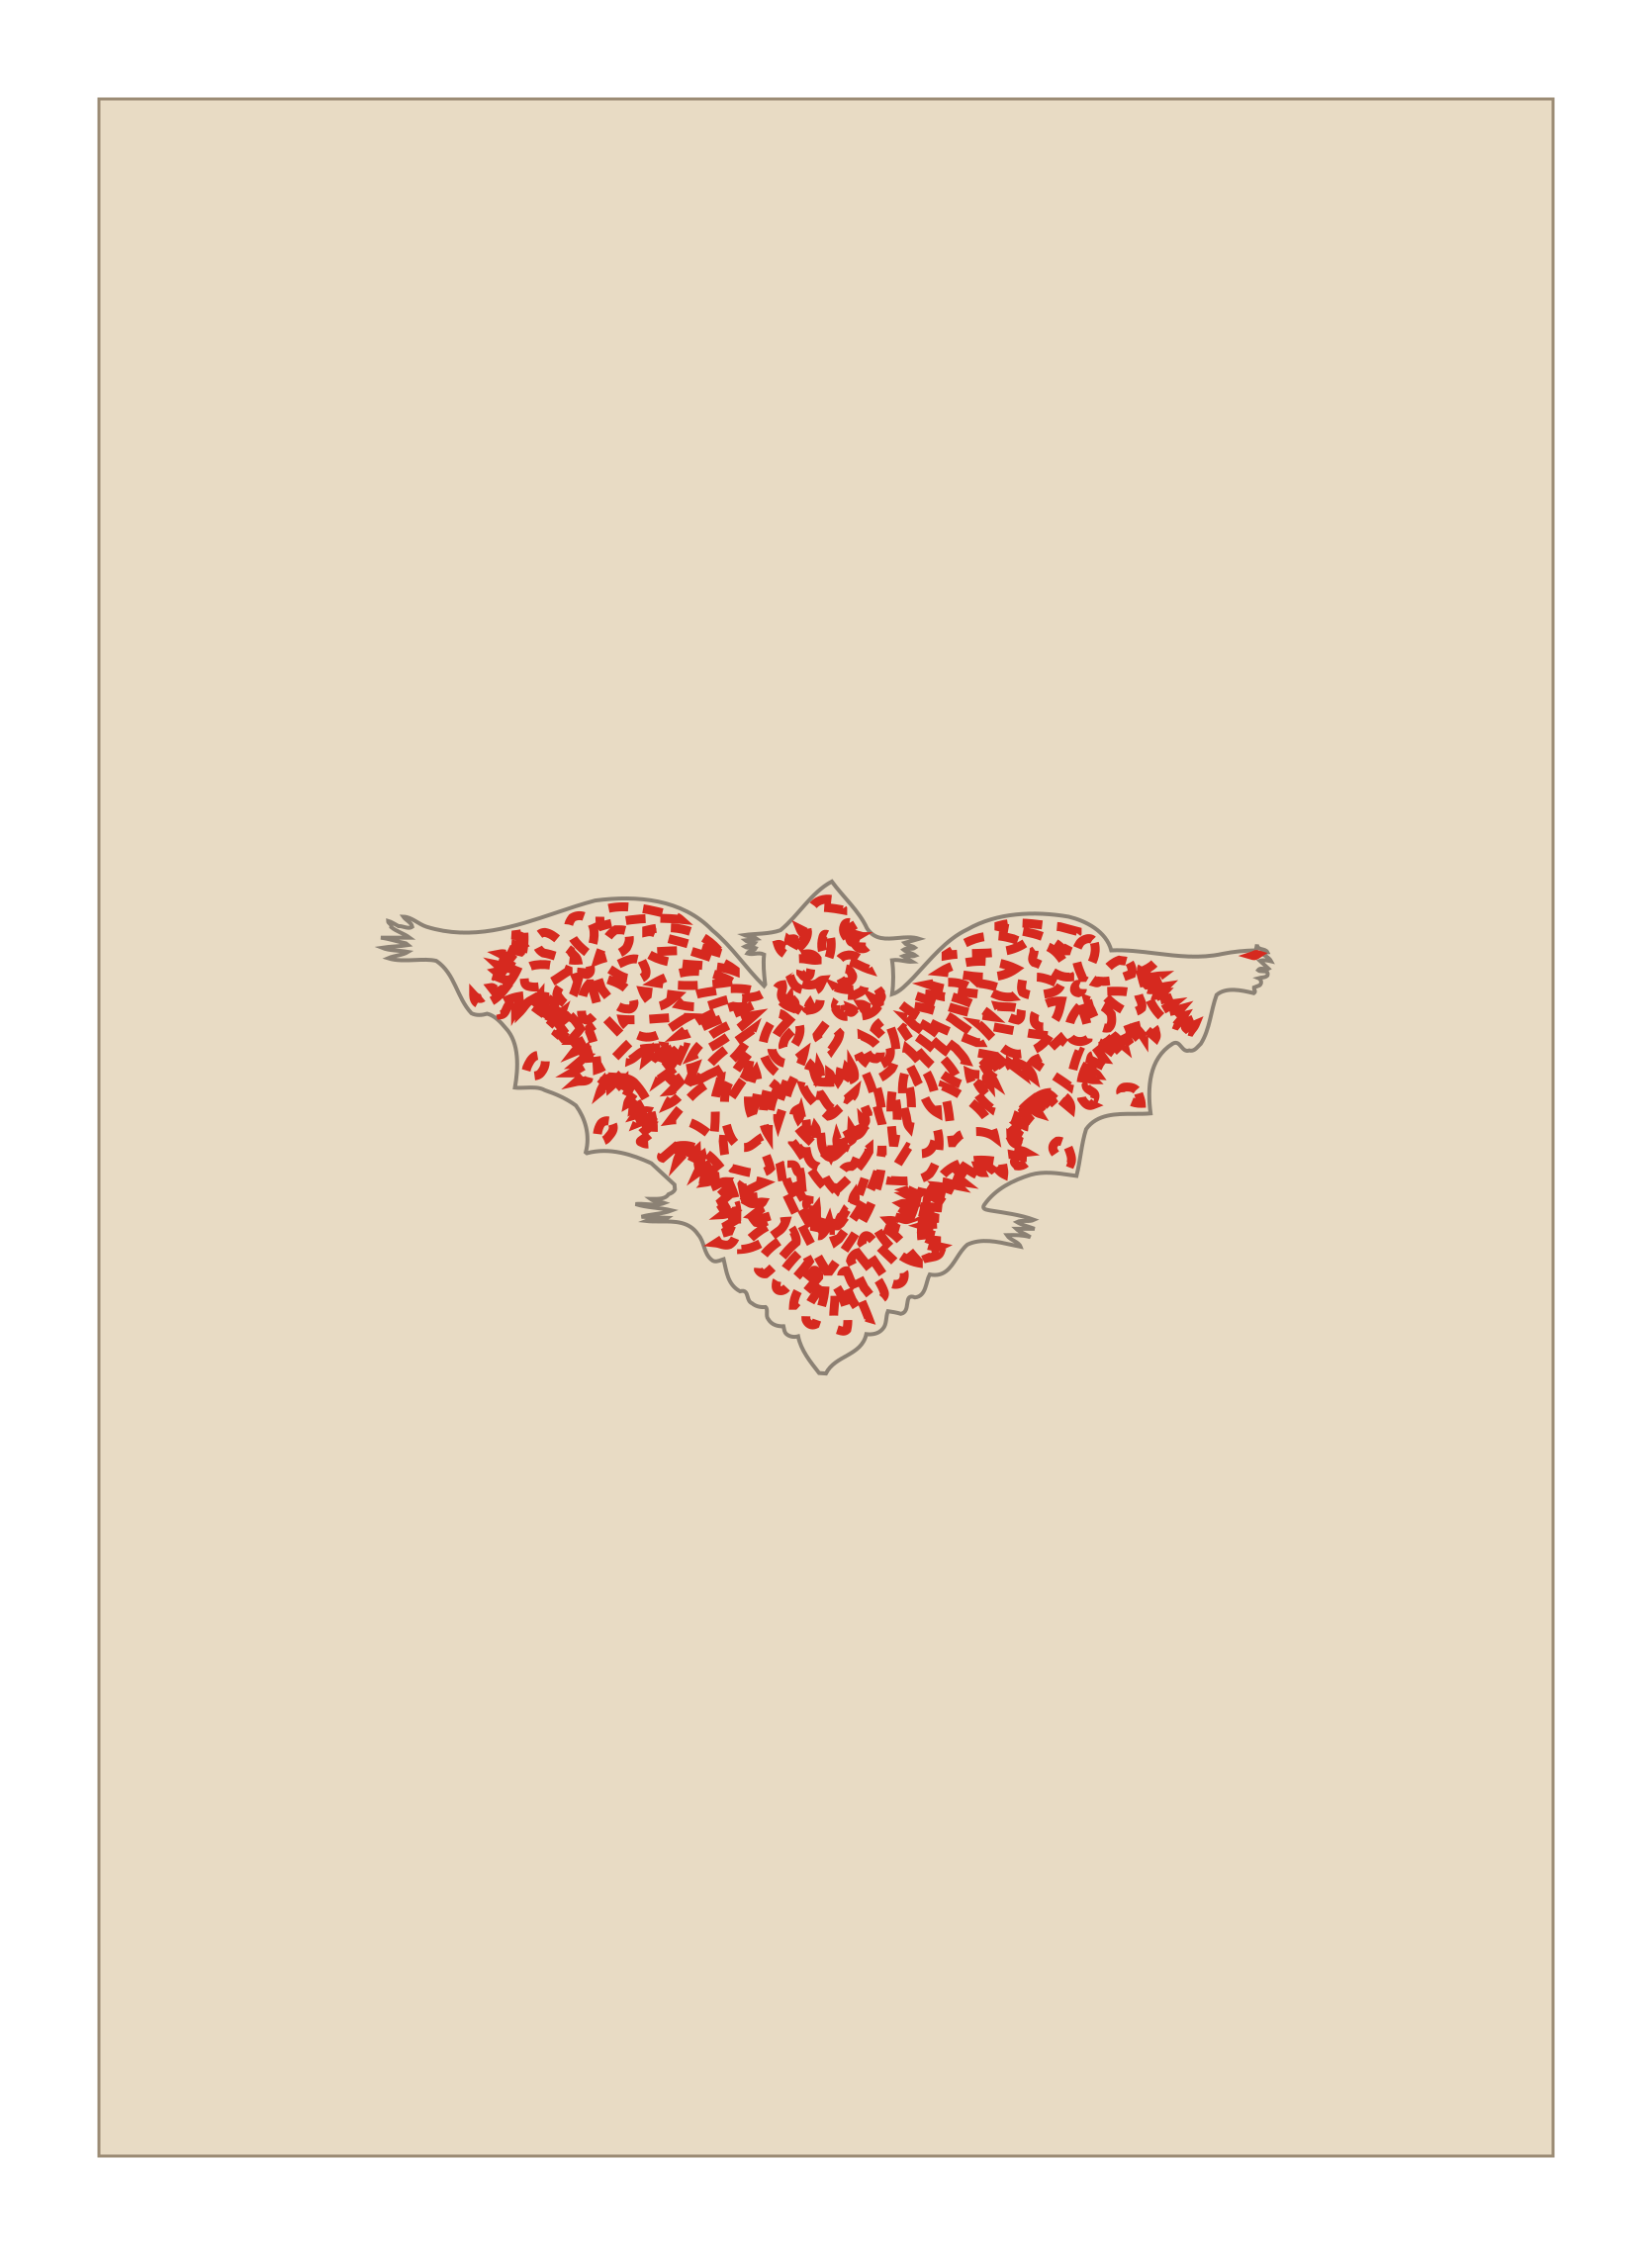
Cut the white openings through both layers while the surrounding sheet supports the design. Start fold-touching openings at the crease and stop at black center sections. For enclosed holes, an adult makes an entry inside the white waste with a craft knife on a mat. Never cross black paper from the outer edge to reach a hole. Preserve the flower centers, wing ribs and petal bridges.
4. Cut the outside contour
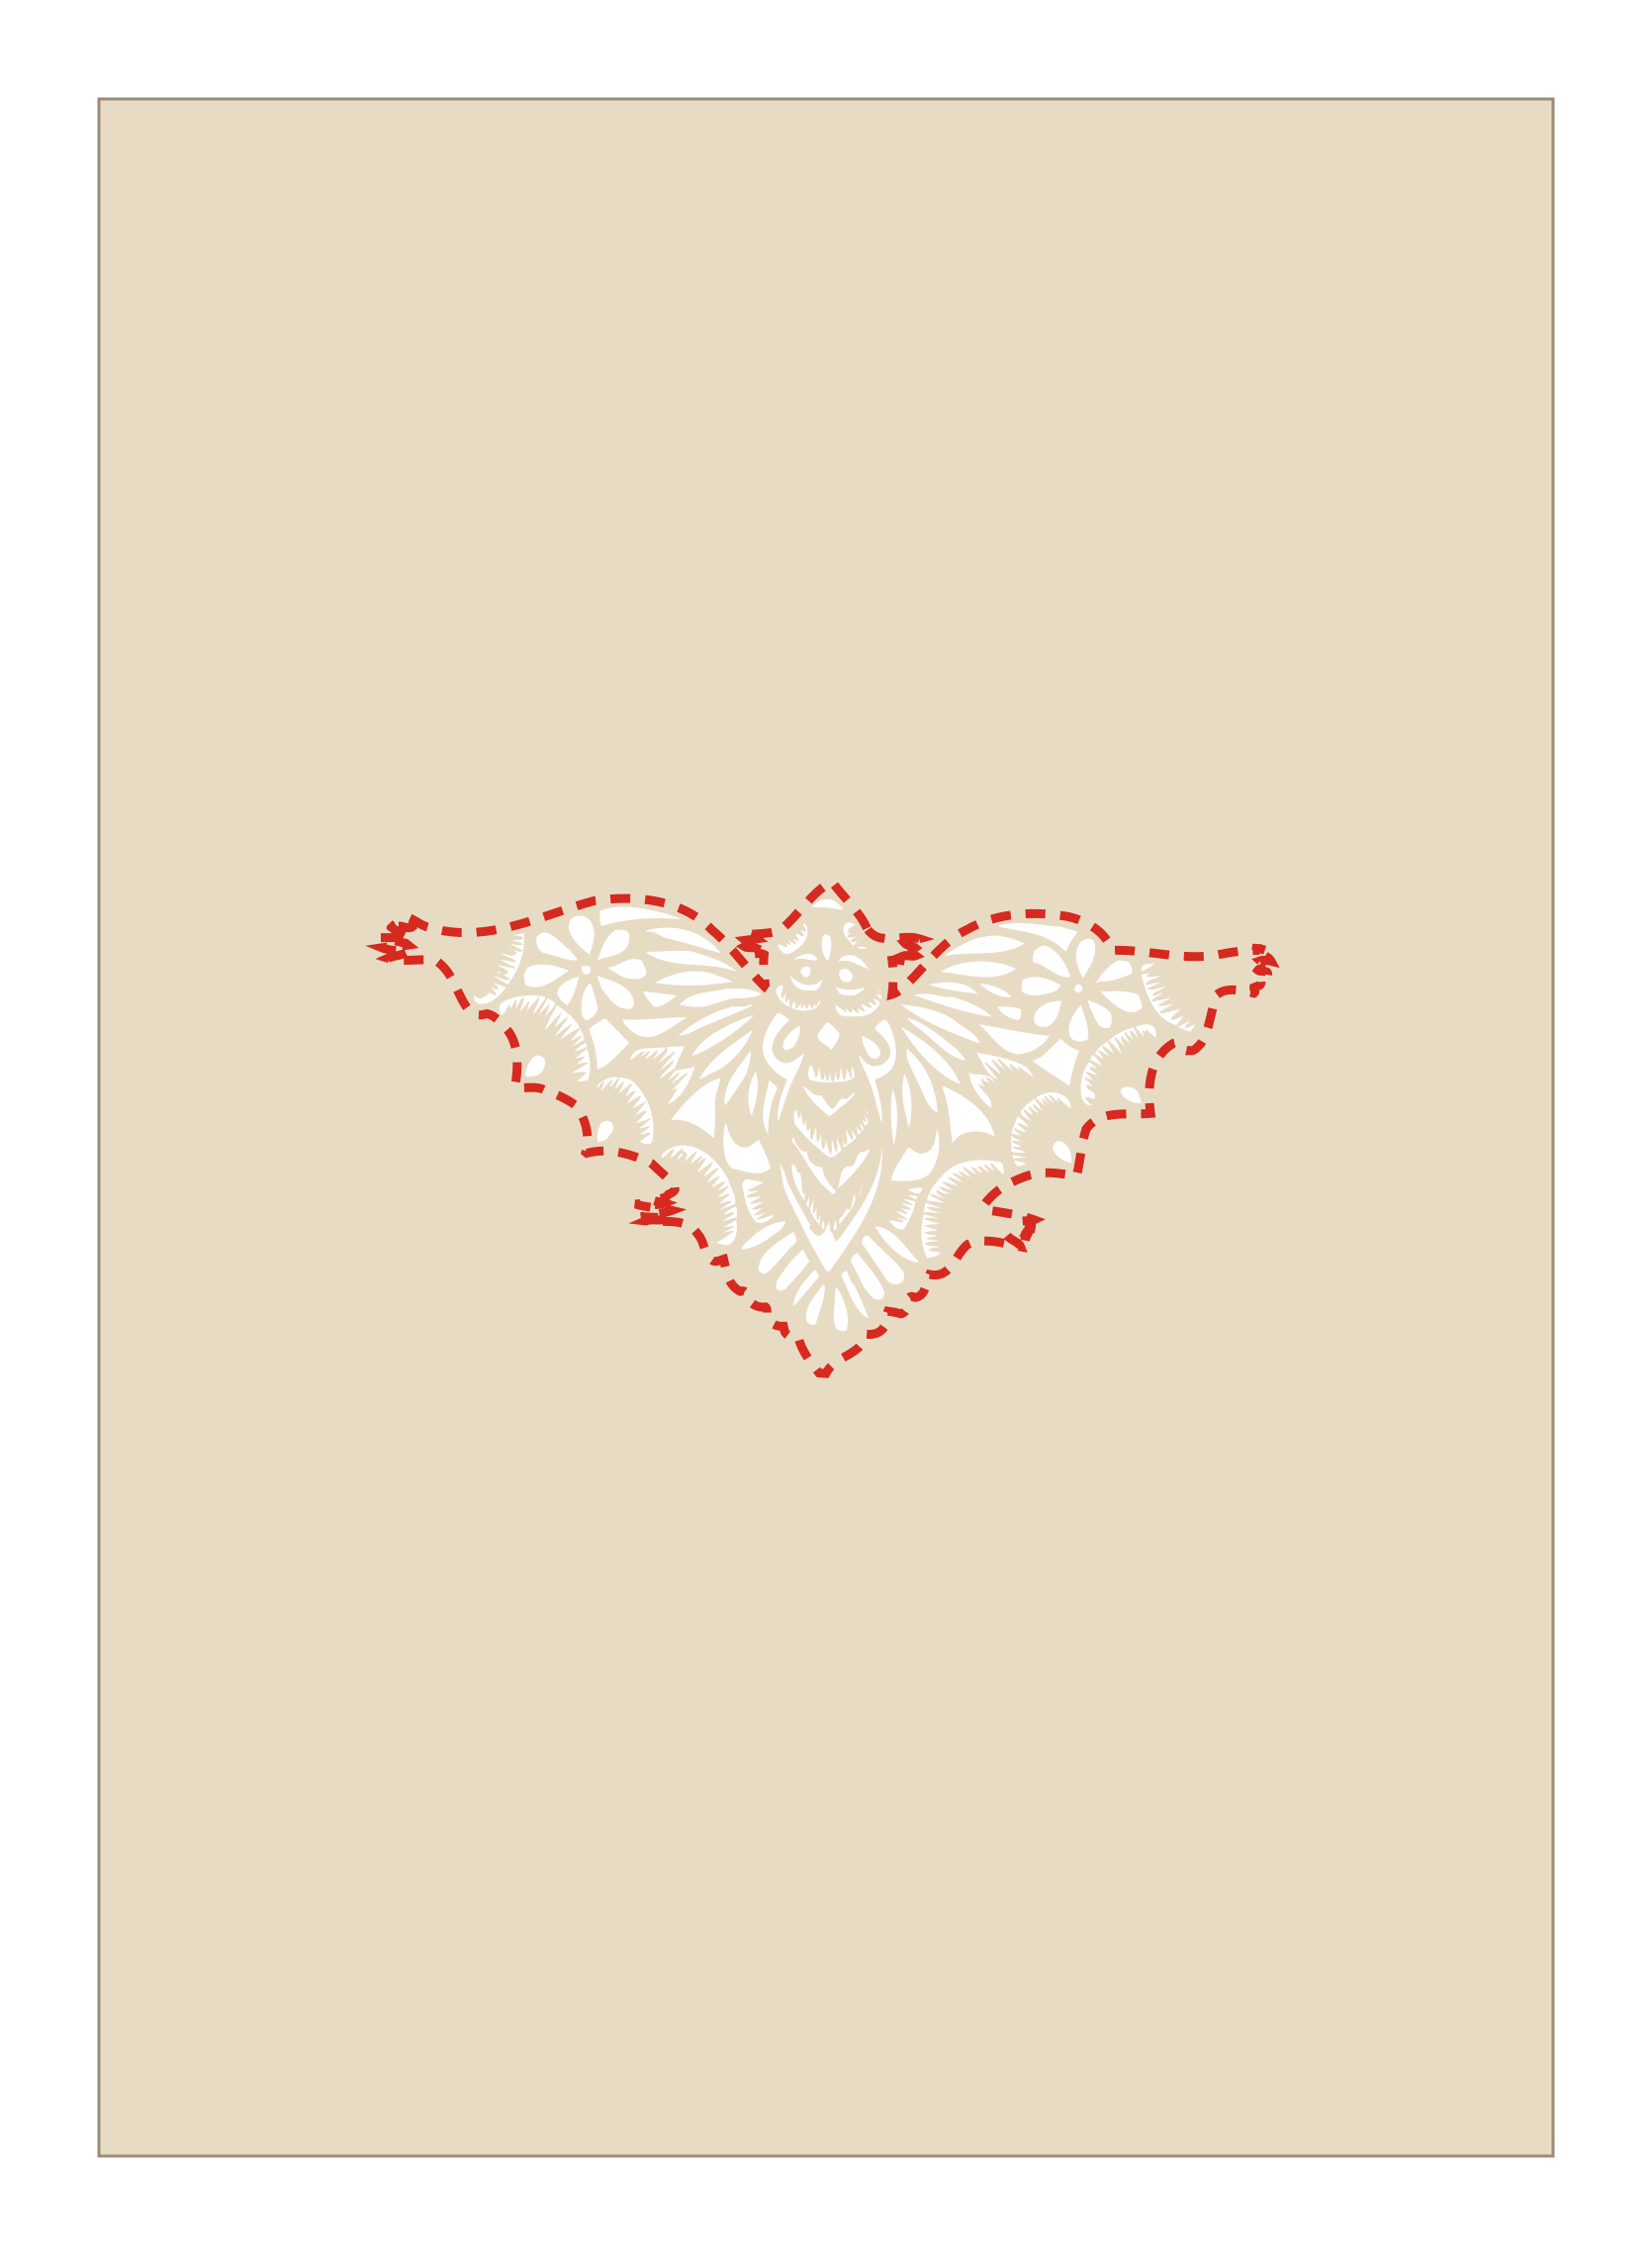
From the loose outer edge, approach the thin red contour through beige waste, then cut both layers along the outside edge. Support the fine teeth and narrow bridges. Keep every black section touching the crease. The blue dash-dot fold line is not a cutting line: never cut the whole crease or cut across a black connection.
5. Open along the fold
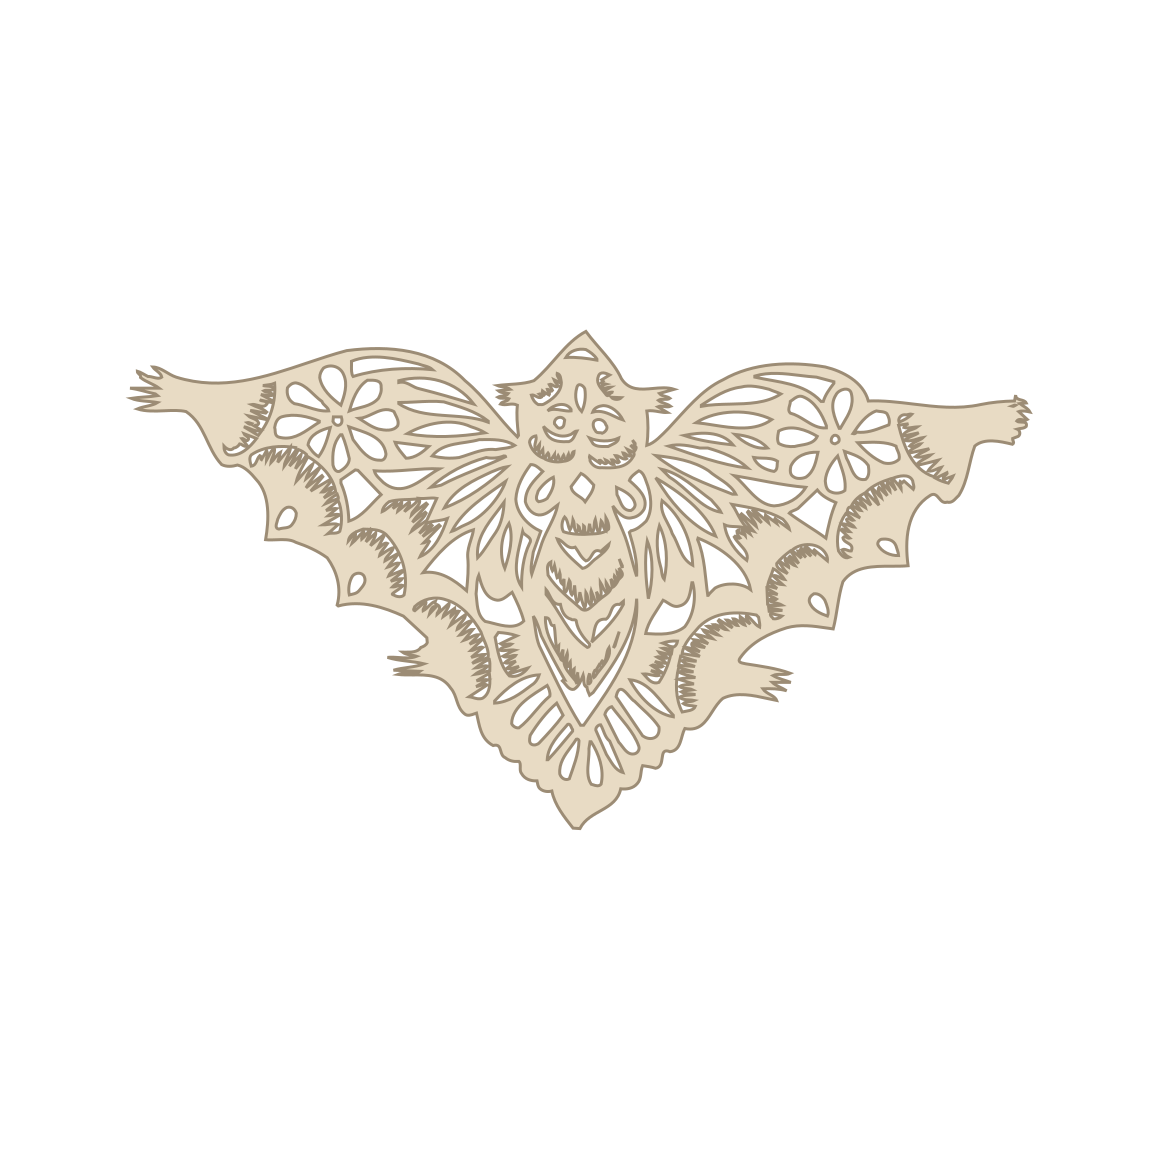
Remove loose waste without pulling the flower centers or wing tips. Support the body and slowly open the two layers along the blue fold. The half-pattern now makes matching left and right wings. If a scrap is still attached, stop and release it carefully rather than tearing a bridge.
6. Compare and flatten

Compare the opened bat with the full reference on page 1. The body, flower centers, petals and wings must remain joined by black paper. Trim only attached scraps, not bridges; do not cut the holes again. Press between clean sheets. Very fine tips still need careful handling; no physical cutting trial has been completed.
Keep black paper; remove white holes and beige outside waste. Thin red lines mark cuts; the blue dash-dot line marks the fold, not a continuous cut. Preserve the black center sections, flower centers, wing ribs and petal bridges. The fine teeth and narrow bridges are advanced work; this revision has not been physically cut-tested. Try scrap paper first.
PDF page 1 is the unfolded reference; page 2 is the full-size working half at the same scale; page 3 shows the six steps. The step diagrams are not tracing patterns. A4 is the default; the Letter download uses a Letter sheet. Try a scrap first to check fragile bridges.
Print, prepare, and make
Match the PDF to your paper size and check the 50 mm scale line. Keep the pattern-specific folding sequence above beside you as you work.
Printing a paper cutting template · From download to finished paper cut · Printing and cutting troubleshooting
Paper and tools
Try the paper and tools on a scrap first. Difficulty and time are planning estimates; complete a trial before preparing a group activity.
Paper cutting tools and materialsAbout this template
A bat spreads pointed wings filled with leaf-shaped openings around a narrow central body. Clear the smallest enclosed details first and leave the surrounding sheet in place until the delicate links are finished. The PDF is a cutting study; the SVG contains editable vector outlines.
Meaning of the motif
Good fortune · Fortune Bat
Read the cultural context and sources for the recognizable motif. Its use can vary by occasion and tradition.